Uploading/Downloading Files to S3
Uploading and downloading files to an Amazon S3 bucket offers various practical use cases, from storing supporting documentation to backing up crucial files. Leveraging the S3 connector's UploadFile action streamlines this process. To know about the configuration and connection details of the S3 connector enabling these operations, refer to the comprehensive guide available in the AWS S3 connector article.
Uploading Files to AWS S3
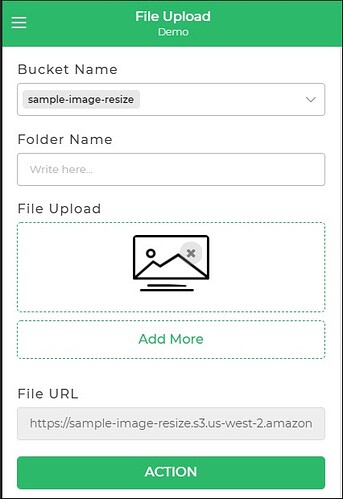
Consider a scenario where a form allows selection of the Bucket name from a dropdown, specifies the folder for file
upload, and utilizes the File upload control for uploading files. An action button triggers the upload operation.
On the button click event, add a
Connector > Libraryand selectUploadFile.Choose the
Connected accountfor the environment and proceed.Utilize the
Dropdown controlas theBucketand include the folder name (optional). Use the Fileupload control’s name for adding files. Proceed.
Configure feilds Define the
action nameand designate the variable returning the URL.
Optionally, display the URL in a text control to confirm the uploaded file's destination bucket.
Downloading Files
You can initiate the download action using a button or trigger in your application. Follow these steps:
Obtain the link or URL from the upload action after a successful file upload to the S3 bucket.
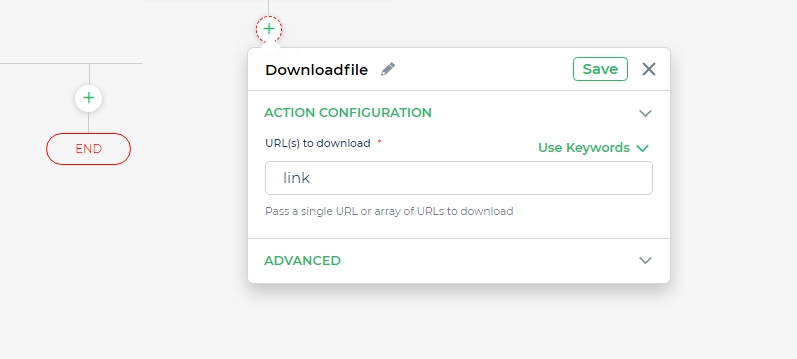
Implement this URL in the action flow by configuring an
Utility tasks > Download Filesaction. Pass the obtained link as a parameter within this action.
By implementing this configuration, users interacting with your application can download the respective file from the S3 bucket by triggering the designated action, ensuring seamless retrieval of uploaded content.