Configuring AWS S3
This guide provides step-by-step instructions to configure an AWS S3 bucket access policy in selfhosted, ensuring secure and controlled access to your files by whitelisting specific domains.
Step-by-Step Guide
1. Login to AWS:
- Access the AWS Console and sign in.
2. Navigate to Amazon S3:
- Navigate to S3 from Services.
3. Select the S3 Bucket
- In the Amazon S3 console, locate and select the bucket you want to configure access policies for.
4. Edit Permissions:
- In the Permissions tab, disable Block all public access.
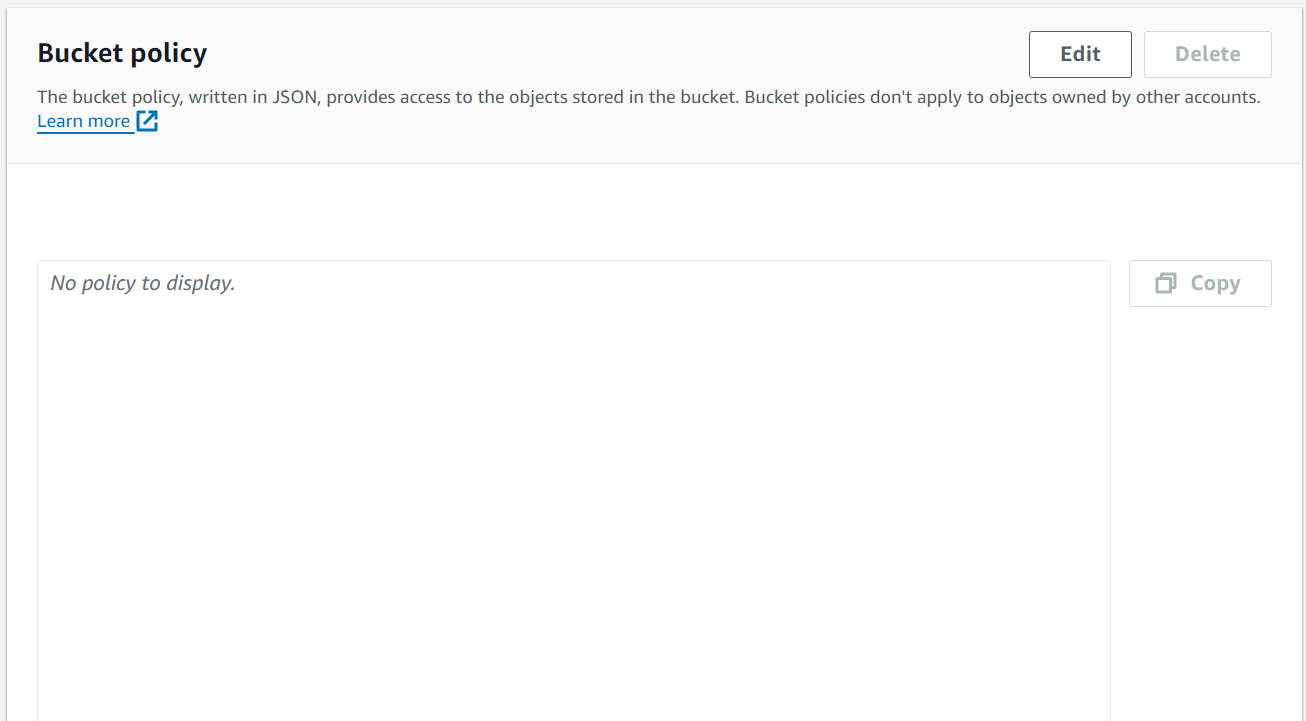
5. Edit the Bucket Policy
Add a policy that includes the
aws:Referercondition to whitelist specific domains. Below is an example policy for reference:
{
    "Version": "2012-11-04",
    "Id": "example referer policy",
    "Statement": [
        {
            "Sid": "AllowGetRequestsForSpecificDomains",
            "Effect": "Allow",
            "Principal": "*",
            "Action": "s3:GetObject",
            "Resource": "arn:aws:s3:::<your-bucket-name>/*",
            "Condition": {
                "StringLike": {
                    "aws:Referer": [
                        "https://<your-domain-name>.com/*",
                        "https://<your-subdomain-name>.com/*"
                    ]
                }
            }
        }
    ]
}
Here, the
s3:GetObjectoperation will only be allowed if the request originates from the specified referrers. This ensures that only approved domains can access the bucket's contents. Note that there is no expiration for these domains; they will remain whitelisted as long as they are included in the policy.
PLEASE NOTE
- Policy Version: Ensure the policy version is correct. The example uses
"Version": "2012-11-04". - Resource ARN: Replace
${bucketName}with your actual S3 bucket name. The ARN format should bearn:aws:s3:::<your-bucket-name>/*.