SQL - Query & Analysis
DronaHQ dashboard provides a dedicated workspace for user to work with data using SQL queries. This primary usage of SQL Labs is to create virtual datasets. This enables the combining of different schemas from different connectors available in the dashboard. User gets the freedom of populating data according to their need while using SQL queries. Alongside, there are other benefits provided like:
- Browse the metadata of the database,
- Running multiple queries with multi-tab feature,
- A search engine to find queries executed in the past,
- Provide parameters to the query,
- Direct access to chart building, download as CSV, and more.
While the most of the work happens in SQL Labs and Saved Queries, we can access to all the past queries from Query History.
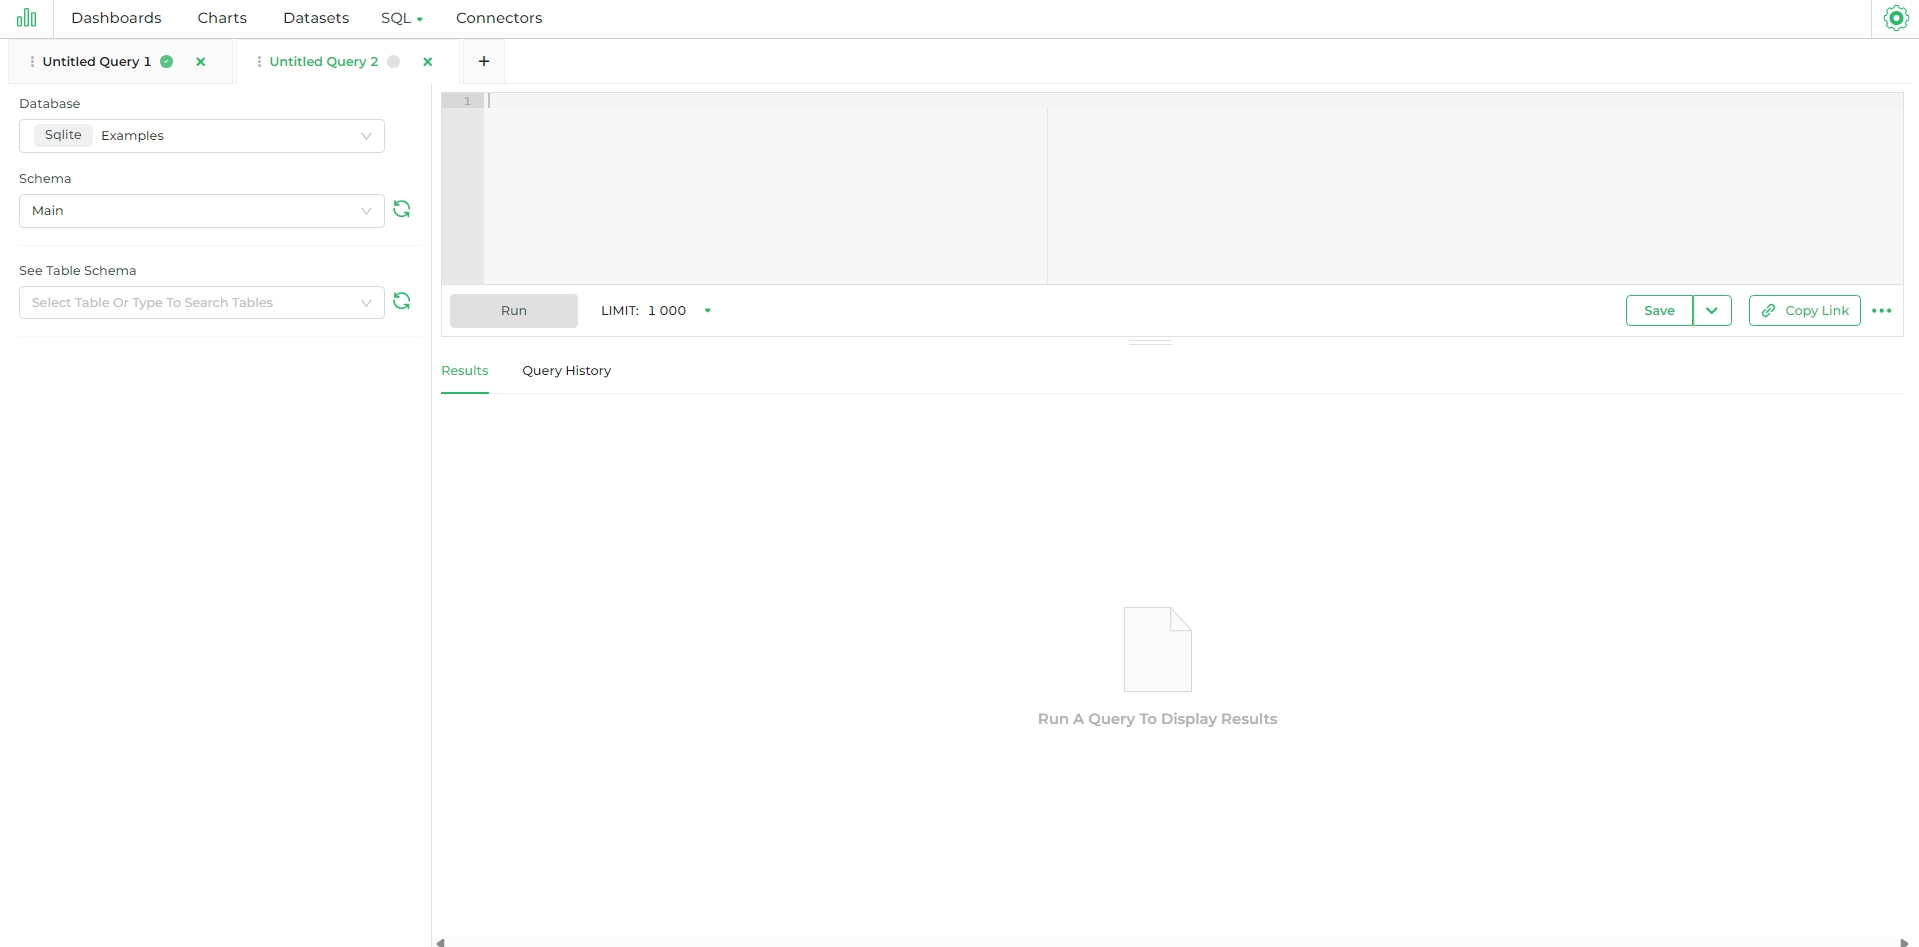
Understanding SQL Workspace
The very start point for creating a SQL query is to select the schema. Browse to and select different schema within the datasource, provided that Expose in SQL Lab is enabled in the database.
The database but be exposed in SQL Lab. To ensure that this setting is enabled, browse to your connectors and select the Edit pencil icon. Then select Advanced and expand the SQL Lab section.
The Expose database in SQL Lab field should be selected.

Multi-tab Queries
Multiple tabs for each query enable you to easily switch between different queries within one interface.

SQL Editor
Write in the SQL Editor panel which allows different data source semantics / comments and runs one query at a time. You even get to search for content within the Editor panel, use CTRL+F to launch the search function and enter a keyword. To replace a term, select the plus icon and enter a word after Replace with.

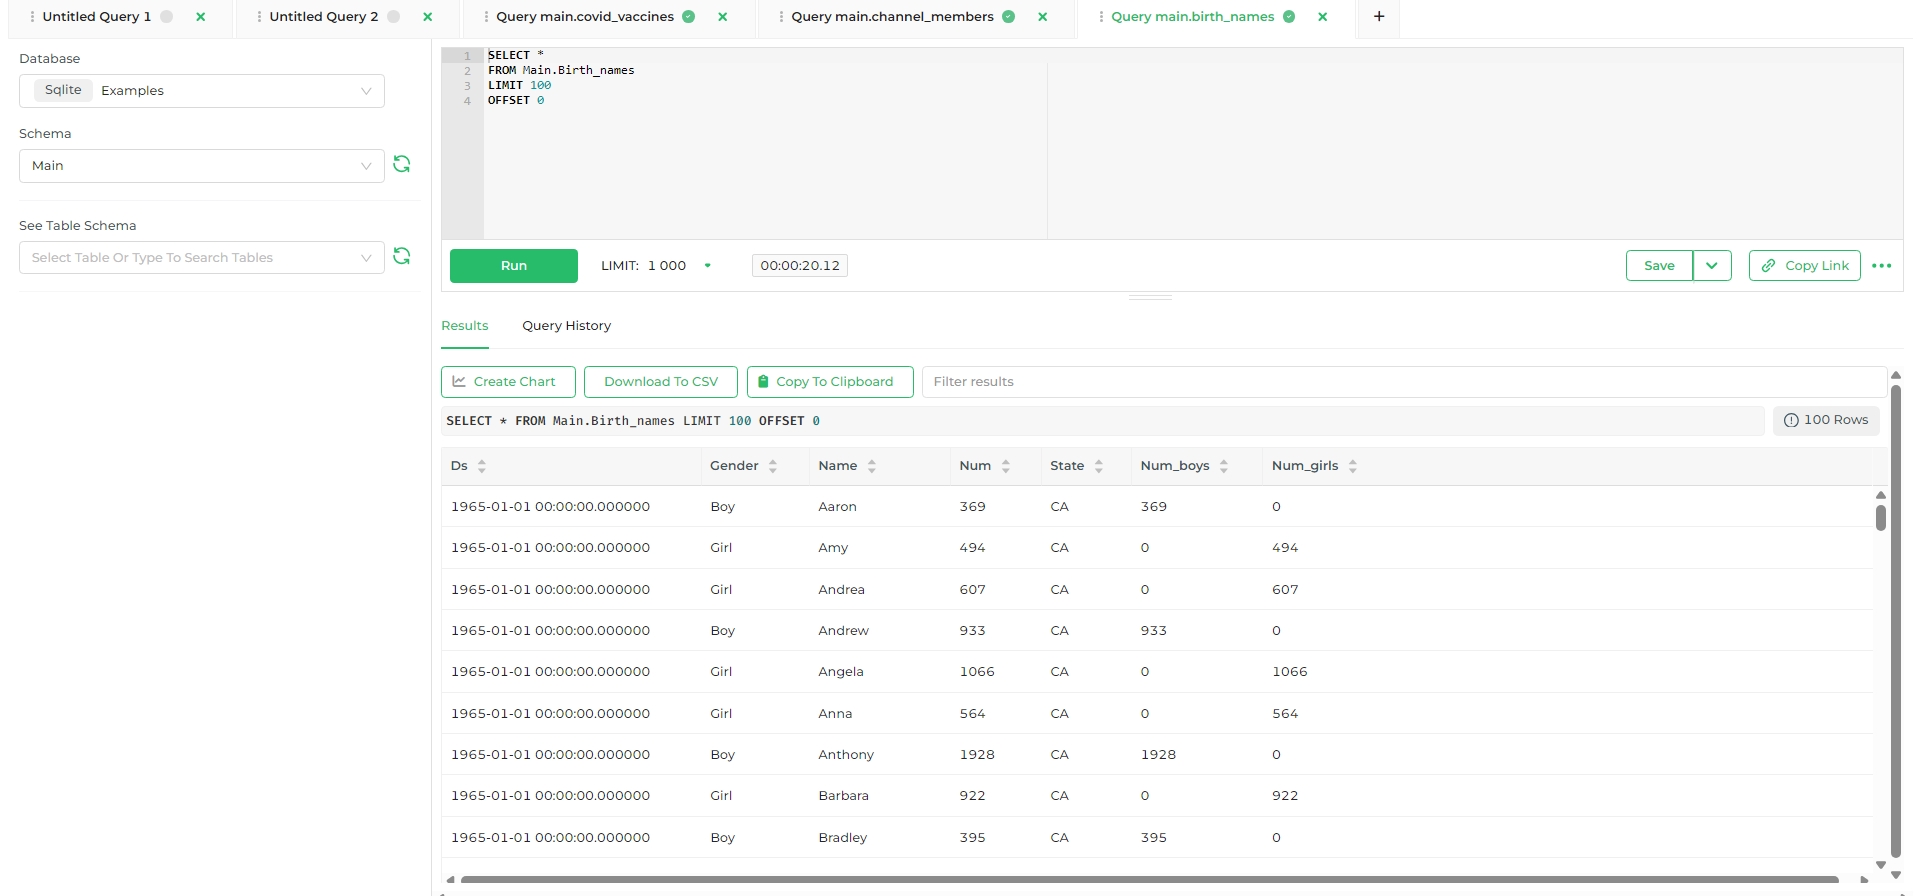
Query manager tab
Right under the SQL editor there are several option which user can explore to have a profound experience with SQL editor:

- Run: Click
Runto execute the query. This action will display the query results in the data section below. - Limit: Set the maximum number of rows you want to retrieve or display at a time.
- Timer: This feature displays the time taken for the query to execute, providing insight into performance.
- Save: Click
Saveto store the query. You'll be prompted to provide a name and description. You can also save the query as a dataset from this menu. - Copy Link: Copy the link to the query, provided it has been saved already, for easy sharing or later use.
- Further Options:
- Parameters: This allows you to assign a set of parameters as JSON, and they become available in your SQL by using Jinja Templating syntax.
- Auto-completion: Toggle this feature to enable or disable SQL code auto-completion.
- Format SQL: Automatically format your SQL code for better readability.
- Keyboard Shortcuts: Access and utilize various keyboard shortcuts for more efficient SQL editing.
SQL Editor Tabs
Results tab
View the results of your queries here. There are multiple tools provided in this tab.
- Create Chart: Once the query is ready and saved, user can directly switch to building a chart using the query, by clicking
Create Chart. - Download to CSV: The SQL queries can be used to create datasets and this can be obtained in system by downloading to CSV format.
- Copy to Clipboard: Copy data to your system's clipboard.

Considerations When Executing Queries
When using the SQL Editor, consider the following:
Displaying Results: Only the result of the last executed query will be shown, even if multiple queries are present in the SQL Editor.
Query Timeout: Queries might time out if they do not return data within the set waiting period (default is 6 hours) or if the web server request times out.
Row Limitations: The number of rows retrieved from the database is capped for several reasons:
- Efficiency: Retrieving excessive data is unnecessary and inefficient.
- Avoiding Long Execution Times: Row limits help prevent queries from running for extended periods.
- Preventing Database Overload: Limits help avoid running
SELECT * FROMon large tables, which could overwhelm the database.
Handling Query Failures
Query errors may arise due to inconsistencies between your query and the database structure. Common issues include:
Invalid References: A query can fail if it references a column or table that no longer exists in the database. You can either update the query to reference existing elements or remove the outdated references.
Incomplete Query: A query will not execute if required parameters are missing. Ensure all parameters used in the query are correctly defined in a valid JSON document.
Query History Tab
The Query History tab, as the name suggests, displays a record of all previously executed queries. It provides essential details like whether the query was successful or failed, the start time, duration, and progress status (if the query is still running), among other relevant information.
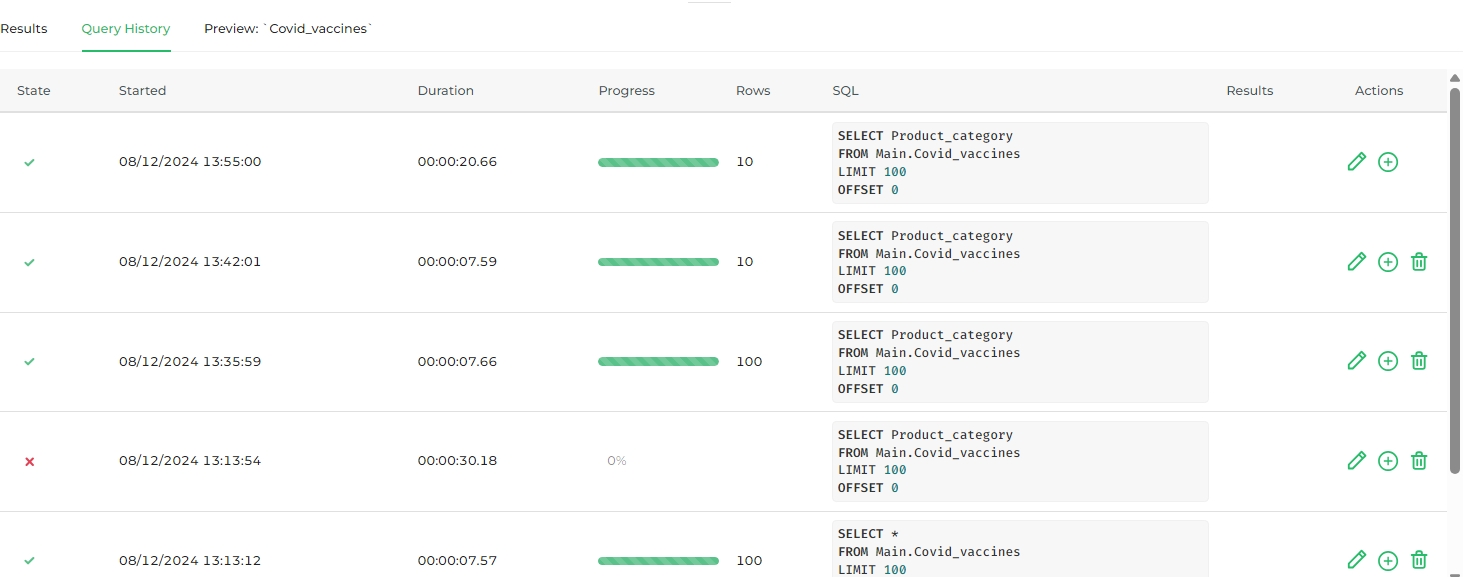
Of particular note is the Actions column, which enables you to do the following:
- Edit (pencil icon): Overwrite text in the editor with a query on the selected table.
- New Tab (plus icon): Runs the query in a new tab.
- Trash Bin: Removes the query from the history log.