Configuring SSO for Google OIDC
Available only on Self-Hosted Version. If you are on DronaHQ Cloud version, Please refer Configuring Sign In with Google
Prerequisites
To set up OIDC SSO in DronaHQ, you will need:
- Admin permission on DronaHQ Self-Hosted portal.
- Permissions to create a Google OAuth Client.
1. Create a Google OAuth Client ID
Go to your Google Developer Console and create an OAuth client ID.
If you are asked to configure an OAuth consent screen, select Internal and add scope. For SSO you can add these three basic scopes - email, profile, openid.
Configure the OAuth Client ID as a Web application and enter Redirect URL(for eg- https://your-self-hosted-domain.com/sso/callback/googleoauth) under Authorized redirect URIs -> + URIs. DronaHQ Redirect URL can be located at Manage Users -> SSO CONFIGURATION -> + Add SSO -> Google - OAuth.
When you create OAuth Client, you will get Client ID and Client Secret that you can keep a note of that will be needed later to configure it in DronaHQ.
2. Configure Google SSO in DronaHQ
For setting up Google SSO in DronaHQ, Go to Manage Users -> SSO CONFIGURATION -> + Add SSO -> Google - OAuth
Enter form with below fields -
| Field | Description |
|---|---|
| Name | Provide Friendly Name of this SSO configuration |
| Restricted Domain | Enter domain name for which you want your users to login with for this SSO Configuration. You can add multiple domain names as well. eg - domain1.com , domain2.com. DronaHQ will automatically redirect to Google SSO url when we encounter any user’s sign in request with an email id belonging to the given restricted domain. |
| Client ID | Client ID from your OAuth app created on Google Developers Console. |
| Client Secret | Client Secret from your OAuth app created on Google Developers Console. |
| Scope | OAuth scopes values seperated with a comma or space that you want DronaHQ to access data. For eg - email, profile, openid |
| Enable JIT user provisioning | Just in time (JIT) user provisioning enables DronaHQ to provision user accounts when users sign in via SSO for the first time. This means you won't have to manually invite each user to DronaHQ first. |
- Enable JIT user provisioning toggle to automatically add new users provisioned by SSO into DronaHQ
Steps
- Create Google OAuth Client ID.
- Fill above form.
- Once, above form is filled, click on
Save to draftoption to save your SSO Configuration. - You will be able to view your recently saved SSO configuration in the list. You can click on
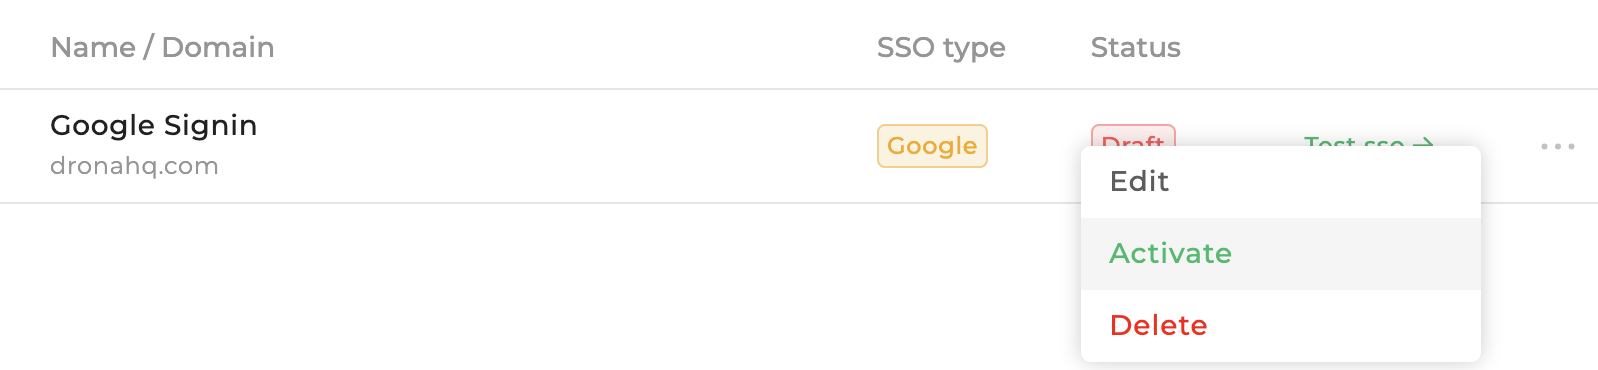
Test SSObutton and it will open SSO Login url in a popup. Once you login successfully and if everything is set up correctly, then finally you will see a success message at the bottom. - Now, that testing is successful, you can click on the
more optionfor above SSO configuration and click onActivateto make it live.
Once live, you will see Sign in with Google option in both the End User Portal and Creator Portal.

With Google Single Sign-On (SSO), users can login into DronaHQ using their Google ID. It simplifies user provisioning and management.