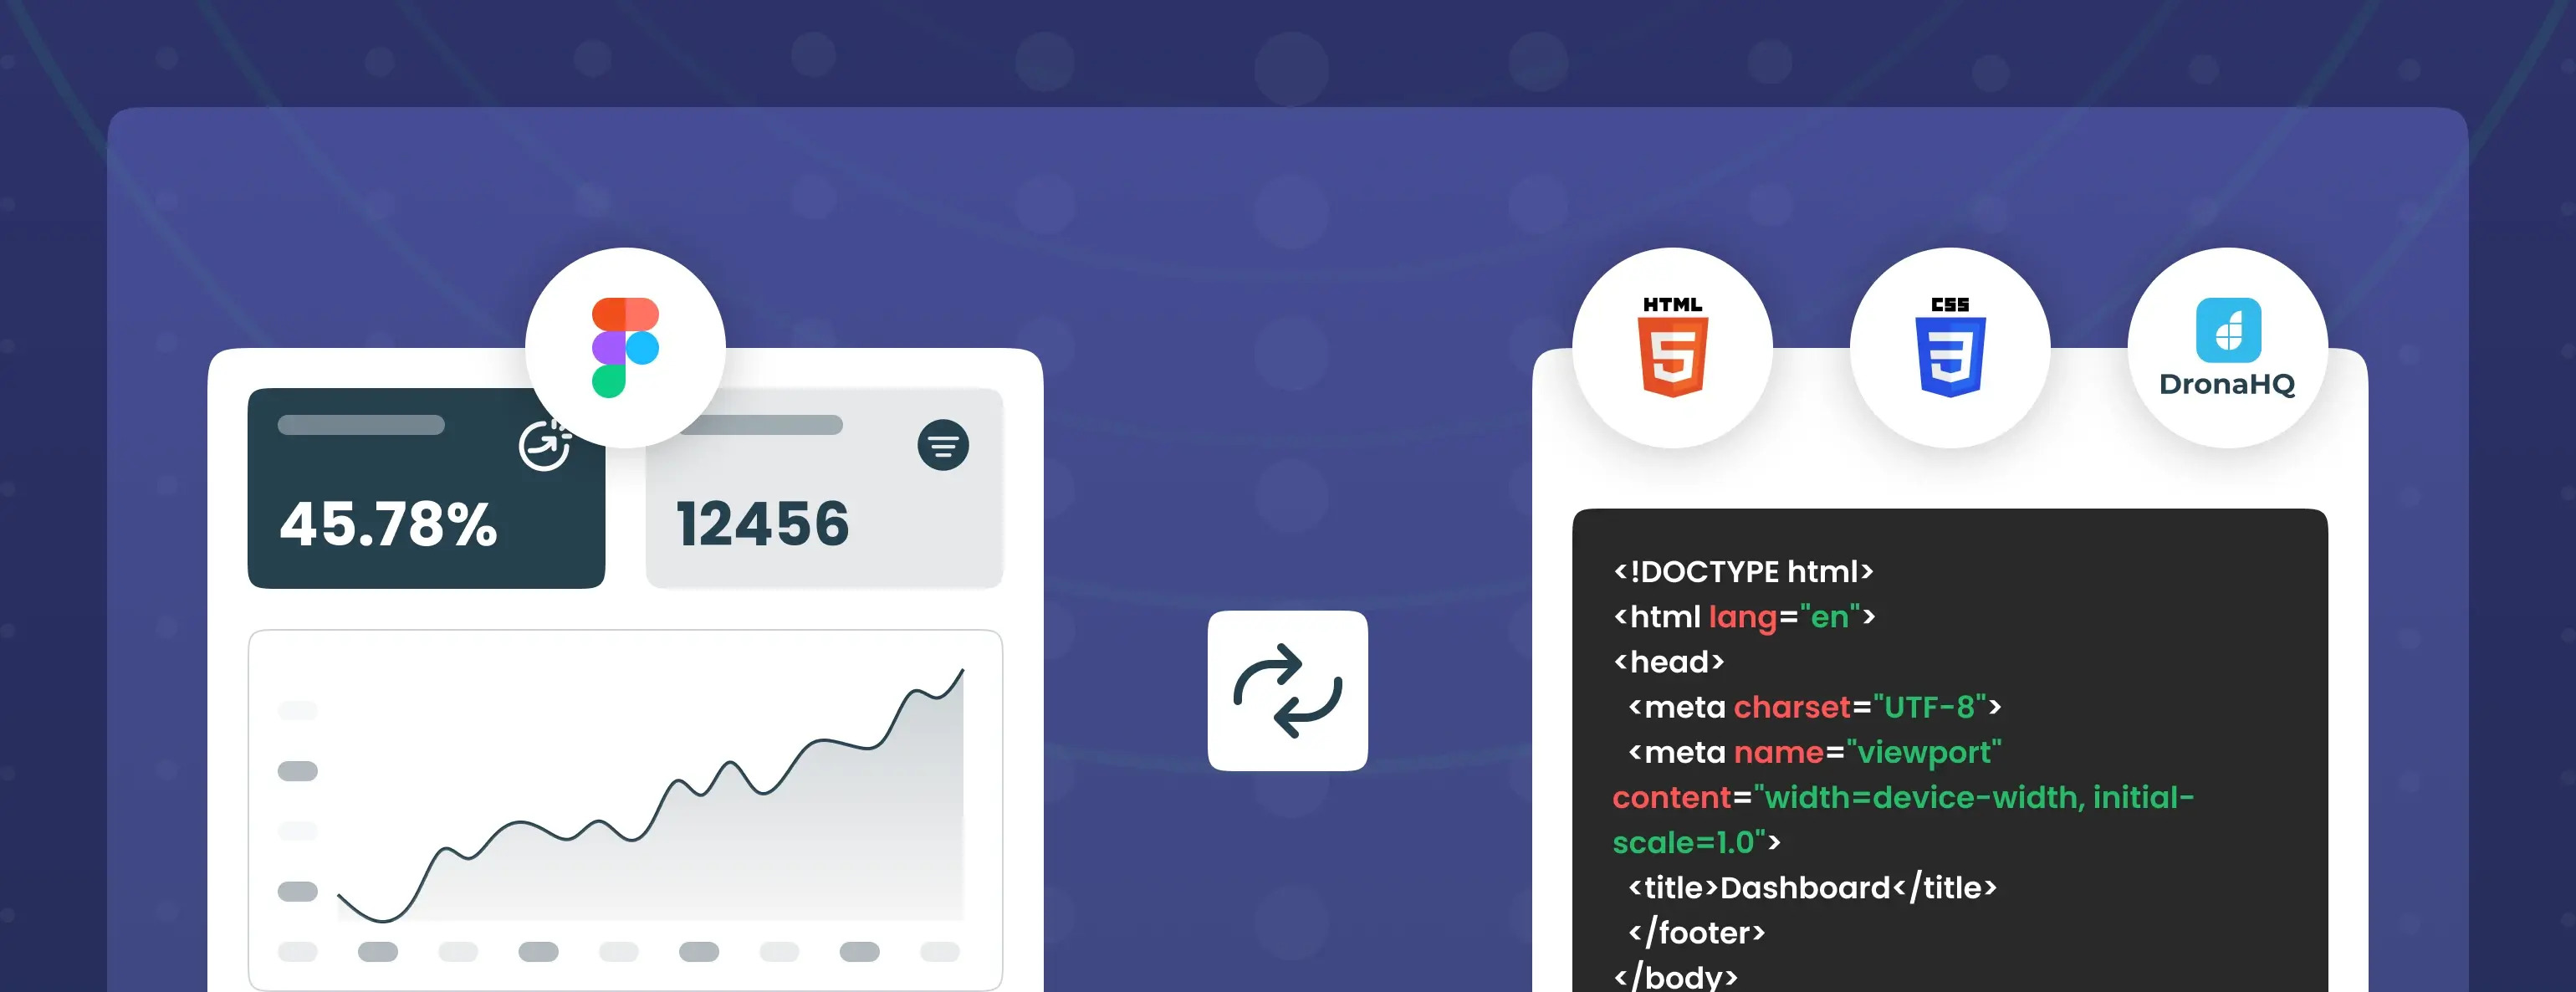
Import Your Figma Designs Directly into DronaHQ
Transform your dynamic designs into fully operational controls and UIs effortlessly using the Figma to DronaHQ.

In the fast-paced world of digital design and development, efficiency is paramount. Designers need tools that not only empower creativity but also seamlessly integrate with development workflows to bring designs to life quickly and effectively. Enter Figma and DronaHQ, two powerful platforms revolutionizing the way designers and developers collaborate and create digital experiences. In this comprehensive guide, we'll explore how you can harness the synergy between Figma and DronaHQ to streamline your app development process, from design conception to deployment.
Transforming Figma Designs into HTML and CSS Code
Figma stands out as a design powerhouse, providing designers with an intuitive platform to craft stunning user interfaces (UIs) and prototypes. With its collaborative features and versatile toolset, Figma has become the go-to choice for designers worldwide. From simple buttons to intricate interactive prototypes, Figma offers the flexibility and precision needed to bring any design vision to life.
Introducing Anima: Bridging Design and Code
Meet Anima- the bridge between Figma designs and code. Anima simplifies the daunting task of transforming Figma designs into HTML and CSS code, making the transition from design to development seamless and efficient. By installing the Anima plugin, designers can export their Figma designs directly into clean, semantic HTML and CSS code with just a few clicks. This eliminates the need for manual coding, saving valuable time and effort in the development process.
But what happens once your design is perfected in Figma and you get the code from Anima? How do you translate those meticulously crafted designs into functional web elements ready for development? This is where the magic of DronaHQ's Control Designer comes into play.
Leveraging DronaHQ's Control Designer for Rapid App Development
Now that you have your code generated from Figma using Anima, it's time to unlock the power of DronaHQ's Control Designer. The Control Designer is a powerful feature within DronaHQ's low-code development platform. It empowers users to create and customize non-input controls without needing to write any code.
Here's how you can seamlessly integrate Figma designs into your DronaHQ apps using the Control Designer:
- Access the Control Designer: Navigate to the Control Designer section within your DronaHQ platform. This intuitive interface provides all the necessary tools to create and customize components for your applications.
- Create a New Template: Kickstart your project by creating a new template within the Control Designer. This serves as the foundation for your custom component, allowing you to define its structure and functionality.
- Integrate Code: Seamlessly integrate the HTML and CSS code generated by Anima into your template. Simply paste the code into the dedicated sections within the template, and DronaHQ's Control Designer will handle the integration seamlessly.
- Save and Publish the Component: After incorporating the Anima code, save and publish your newly created component. This finalizes the customization process and prepares the component for integration into your DronaHQ applications.
Utilize the Component in DronaHQ Apps: Head back to your DronaHQ application builder, where you'll find the newly created component readily available in your control library. Simply drag and drop it onto your app interface to seamlessly integrate the functionality and design crafted using Anima.
By combining the design capabilities of Figma with the low-code development power of DronaHQ's Control Designer, you can revolutionize your application development process. With this integrated workflow, you can create stunning and interactive user interfaces with ease, accelerating the pace of innovation and delivering exceptional user experiences.