Google Tag Manager Integration
In today's data-driven world, understanding user behavior is crucial for success. For low-code app developers using DronaHQ, integrating with Google Tag Manager (GTM) unlocks a treasure trove of user insights. This dynamic duo empowers you to track user interactions, optimize app experiences, and gain valuable data for informed decision-making.
Creating account in Google Tag Manger
- Visit Google Tag Manager and Sign in with your Google account.
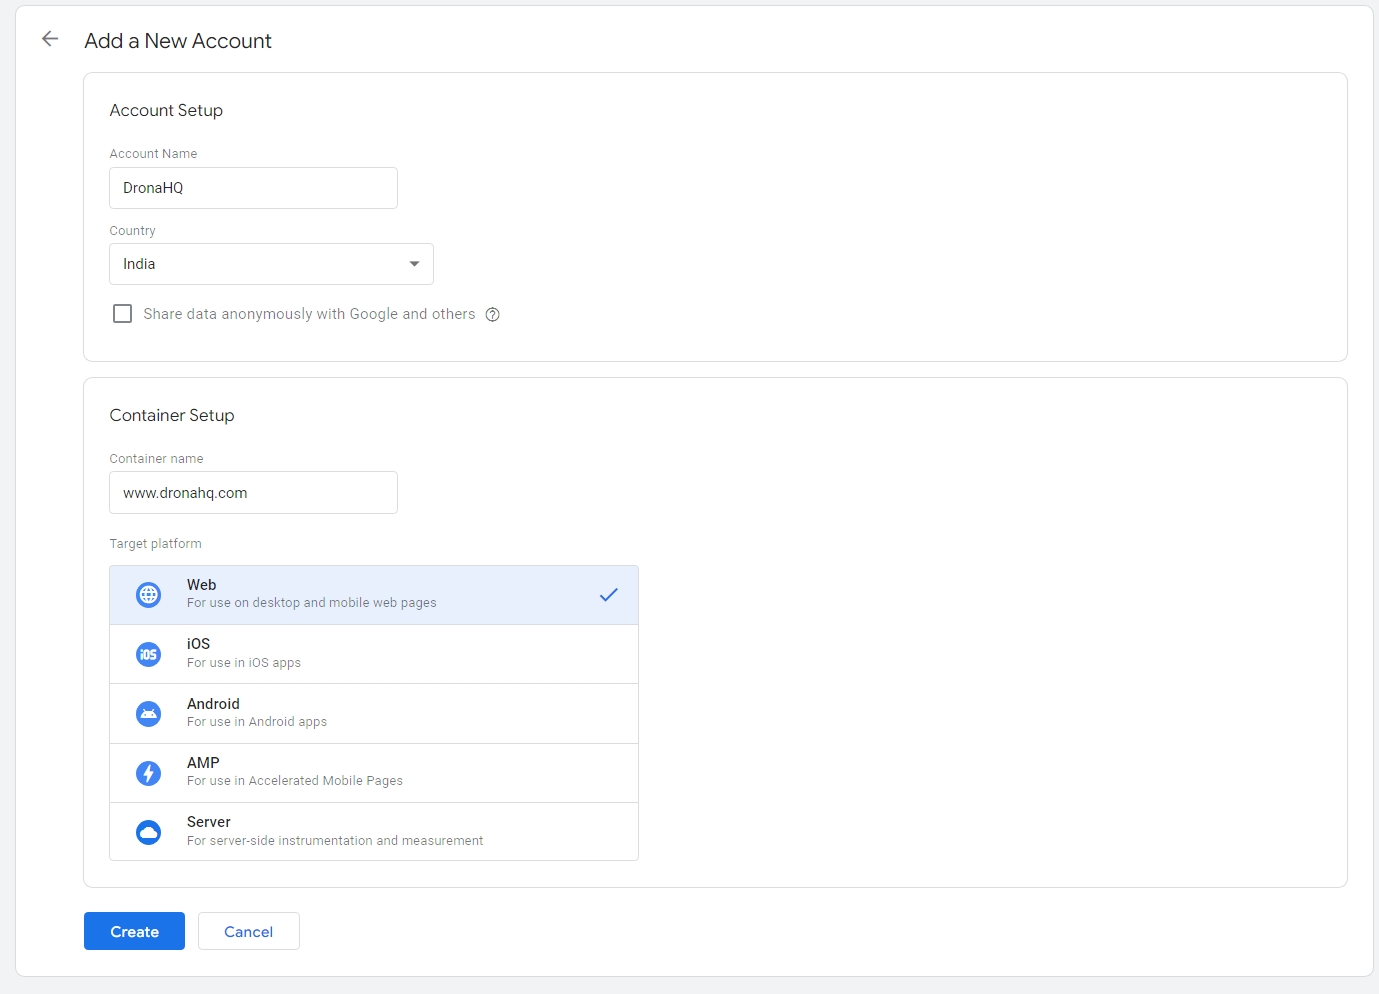
- If you're new to GTM, you'll see a button to
Create Account.Click that. - You'll need to name your account (e.g., your company name) and container (e.g., your website name) and agree to the terms of service.
That's it! Once you have your account and container set up, you can start adding tracking codes and managing your website/app's data collection.
Integrating Google Tag Manager with DronaHQ Apps
Adding Google Tag Manager (GTM) to your DronaHQ app is a straightforward process:
- Open the specific DronaHQ app where you want to integrate GTM.
- Within the app's settings, look for the option labeled
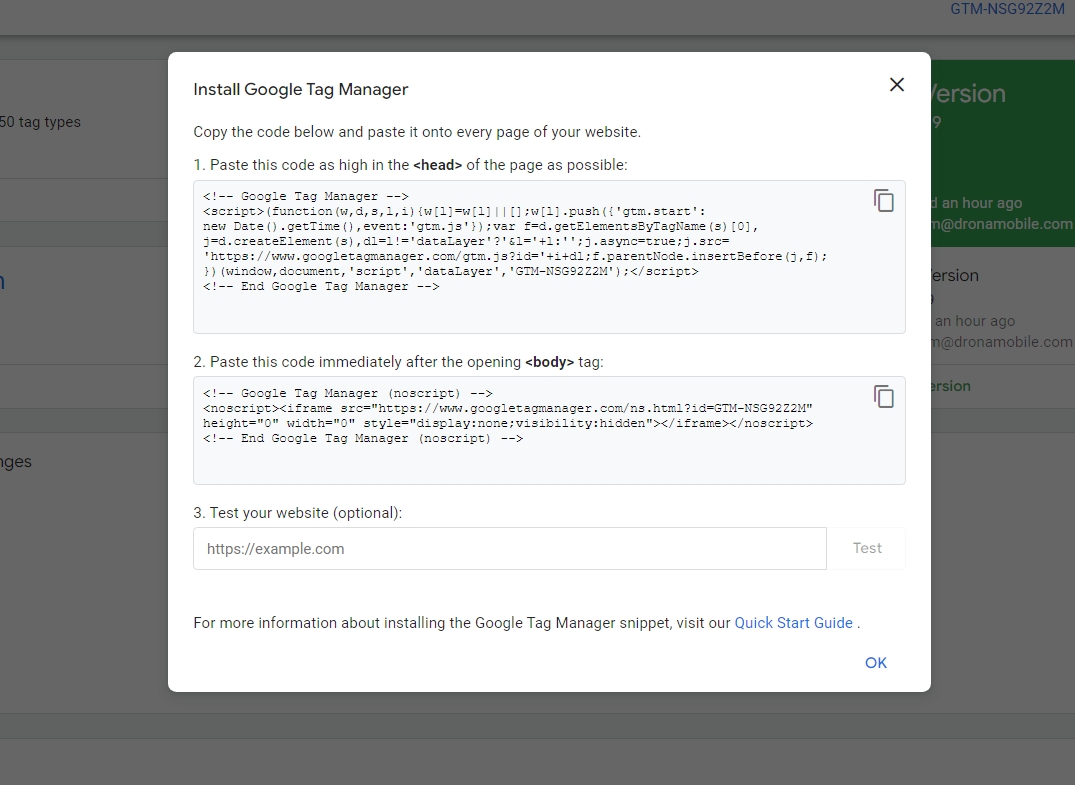
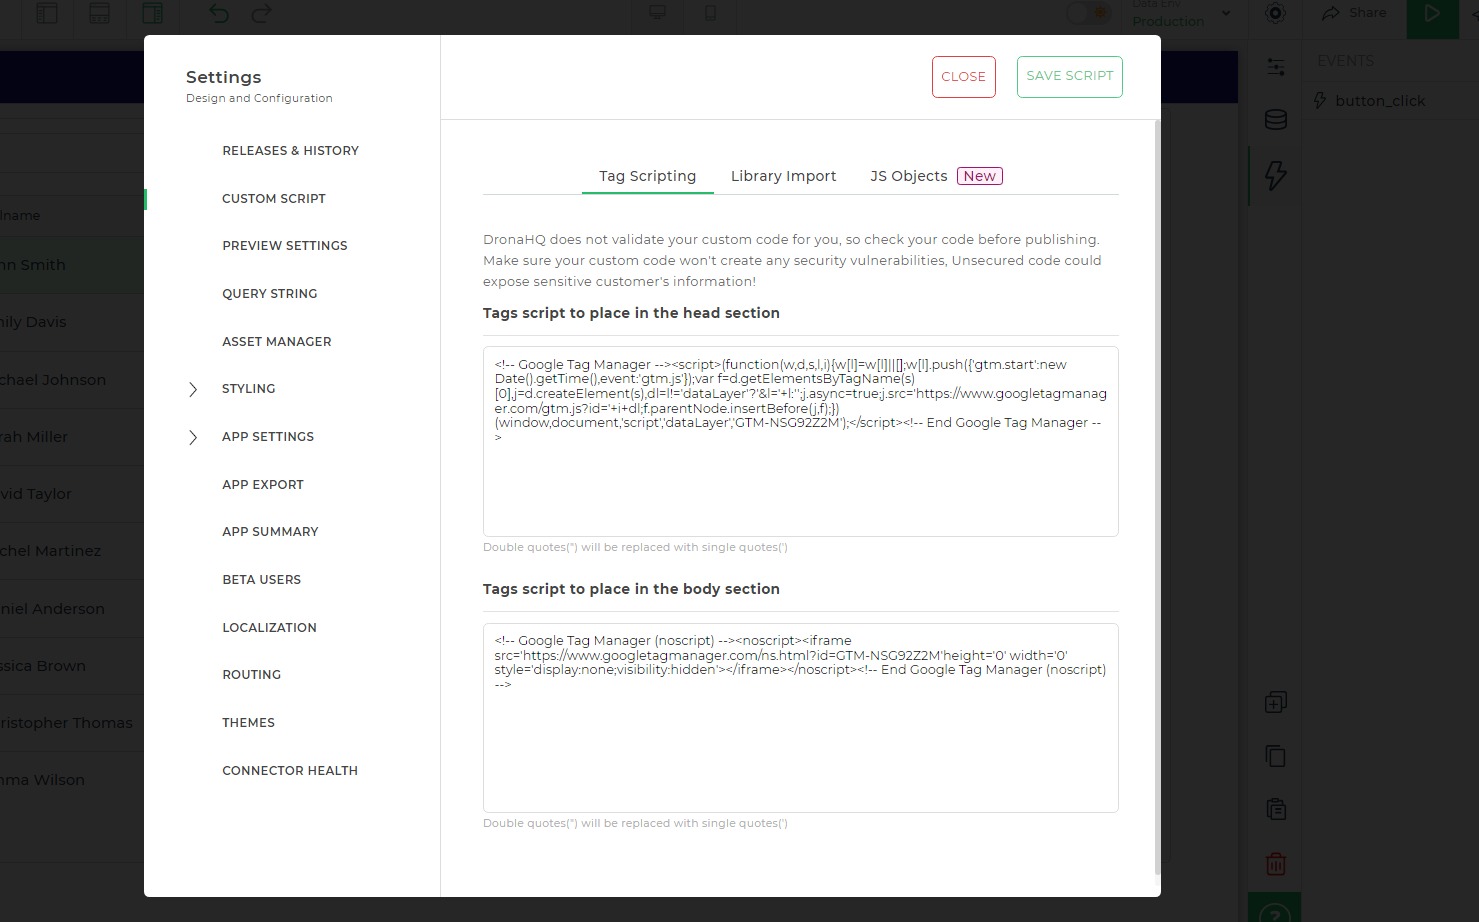
Custom Scripts. - Under
Tag Scriptingor a designated section, paste the provided GTM head and body scripts. - Ensure you save the script integration for the changes to take effect.
Tags and Triggers (GTM)
GTM presents an array of tags tailored to specific tracking needs. GTM like a toolbox for website/app tracking.
- Tags: These are the tools themselves. GTM offers various tags for different tracking needs, such as Google Analytics, Google Ads, or custom HTML tags.
- Triggers: These act like the triggers on those tools. They define when a specific tag fires (activates) to collect data. Common triggers track events like page views, app initialization, button clicks, form submissions, or video plays.
DronaHQ supports both custom and default events of GTM, enhancing its versatility for various tracking requirements.
Triggering Default Event from the App
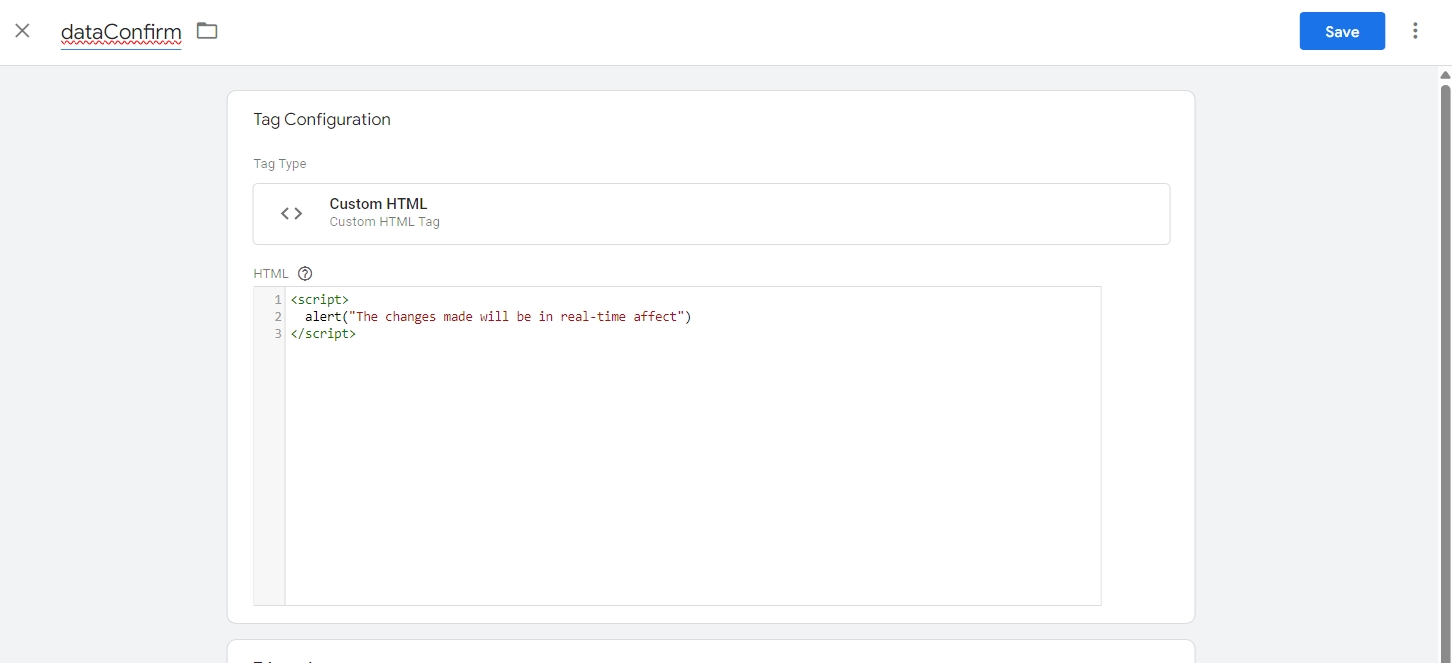
This example demonstrates setting up a Custom HTML tag in Google Tag Manager (GTM) to display a simple message on every page load. The tag will be triggered by the built-in All Pages trigger.
Tag Configuration:
From Tags > New > Tag Configuration > Custom HTML (custom), add below script and save.
<script>
  alert("The changes made will be in real-time affect")
</script>
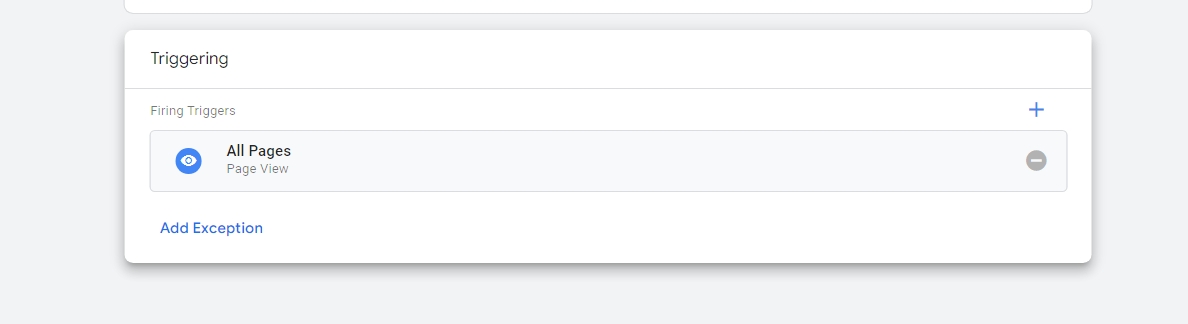
All Pages Trigger:
Next, we'll establish a trigger to ensure our custom HTML tag fires on every page load. We'll leverage the built-in trigger type of All Pages.
In GTM, navigate to Triggers and click New, and under Trigger Configuration, select All Pages. This pre-configured trigger automatically fires whenever a page loads on your website, making it ideal for tracking events that occur on all pages.
- Make sure to Submit your GTM changes to be made effective in the app.
- Publish your DronaHQ App and Check it on Public App link or End user portal to see your changes in Action.
Bringing It All Together:
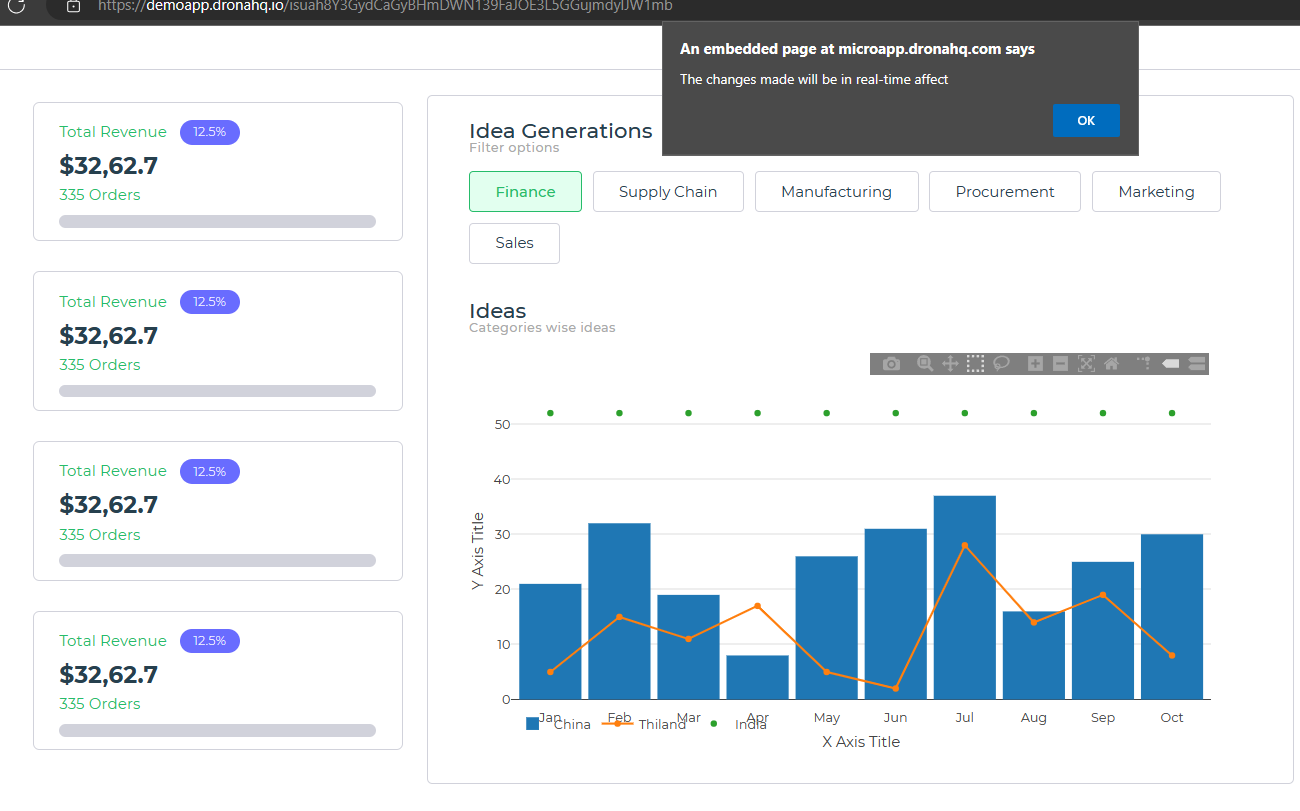
With the Custom HTML tag and All Pages trigger configured, whenever a dashboard page loads or updates in real-time, the tag will be triggered, and your chosen notification method will be displayed.
Triggering a Custom Event from the App
Let's explore the process of triggering a custom GTM tag directly from the DronaHQ App. We'll set up a Custom HTML tag within GTM and configure it with a Custom Event trigger, ensuring it activates from within our application.
Tag Configuration:
From Tags -> New -> Tag Configuration -> Custom HTML (custom), Add below script and save.
<script>
  alert("Mail Sent!")
</script>
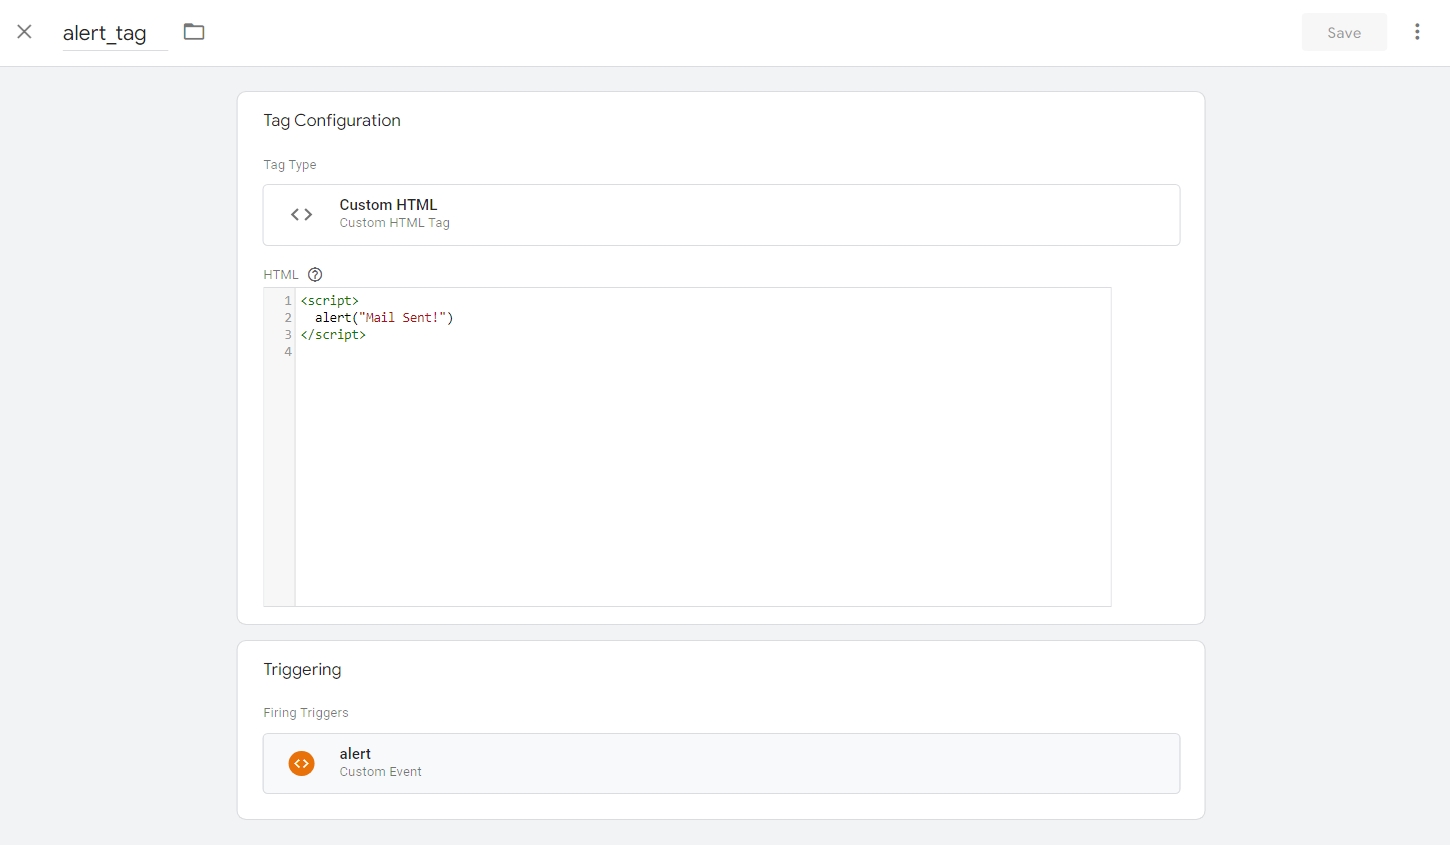
Custom Event Trigger:
Next, we'll establish a trigger to activate our custom event. We'll utilize a trigger type of Custom Events with the event name sent_mail, set to fire on all custom events.

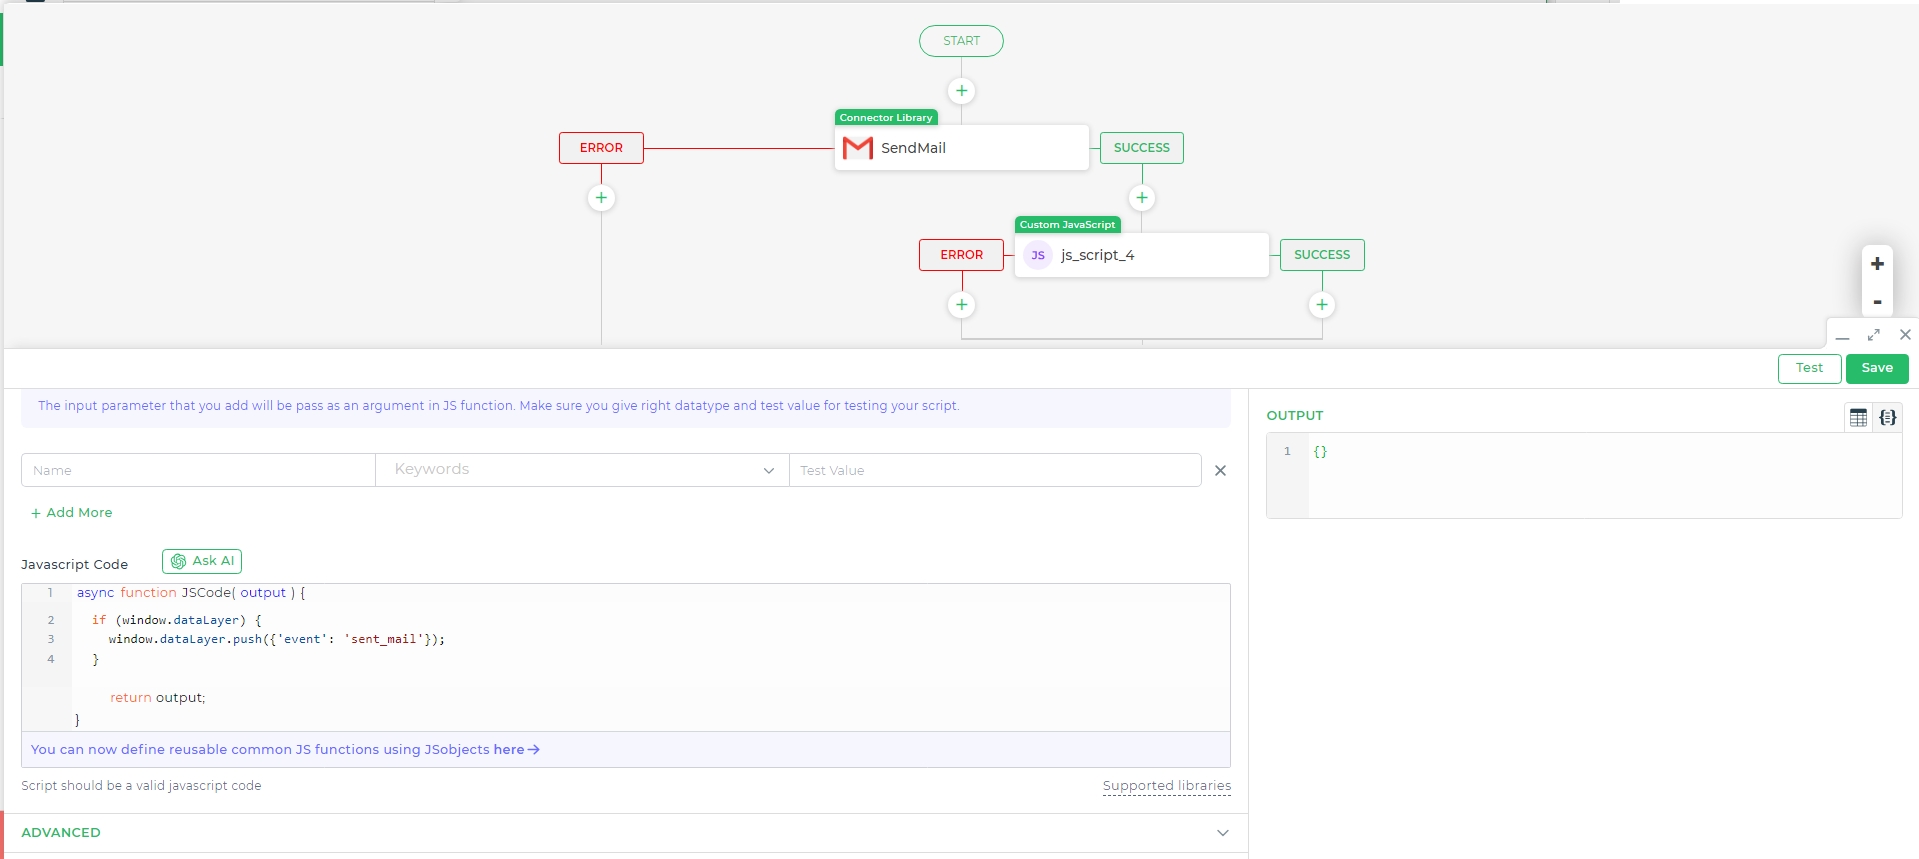
Practical Implementation in DronaHQ:
Now, let's apply this custom event within the DronaHQ lead generation app. Suppose we've incorporated a JavaScript code block action tied to a button click event:
function JSCode(output) {
  if (window.dataLayer) {
    window.dataLayer.push({'event': 'sent_mail'});
  }
  return output;
}
- Make sure to Submit your GTM changes to be made effective in the app.
- Publish your DronaHQ App and Check it on Public App link or End user portal to see your changes in Action.
Bringing It All Together:
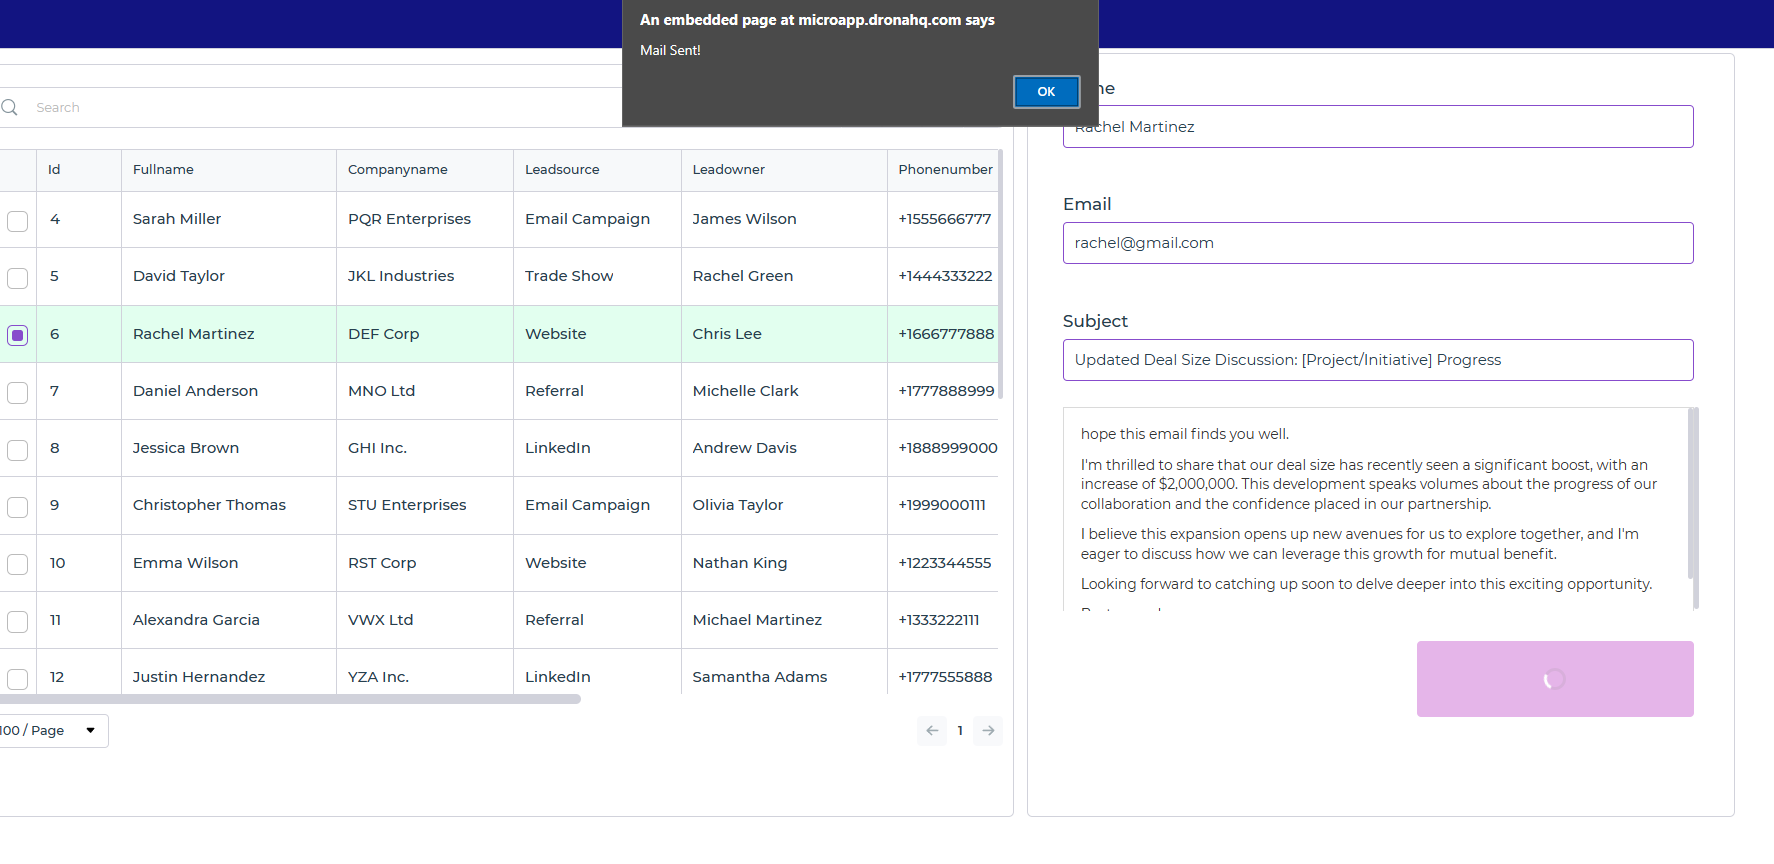
Imagine a user interacts with the lead generation app, triggering the button click action. This event then activates the custom HTML tag configuration within GTM, prompting the "Mail Sent!" alert.