Reusable headers
At times, ensuring a consistent header across each screen of both web and mobile applications can be a laborious task. Creating and implementing a unified header with similar functionalities on every screen demands substantial effort.
Within the platform, there's a functionality that streamlines this process. It allows users to establish a standard header from a single screen and replicate it across all other screens within the micro-app. This feature not only duplicates a common header to every screen but also clones associated functionalities, actions, controls, data, and more linked to the header.
Applying reusable Header
- Choose/create a header in any screen of your micro-app that you want to make the reusable/common header for the very screen.

- Now go to
Configuration > Styling > Headers. Here you can choose the screen from theSelect Screen Headerdropdown, this is to use as the base header for other screens. These header configurations will be applicable for new screens only.
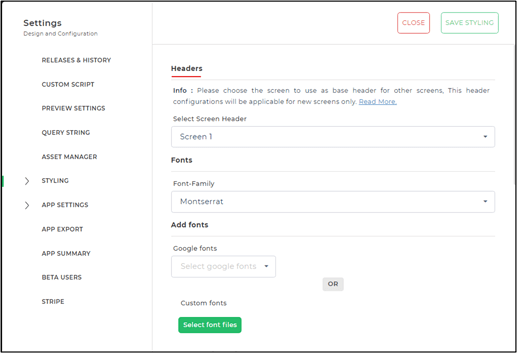
Only screens can be selected from the dropdown.
- Click on
Save Styling.
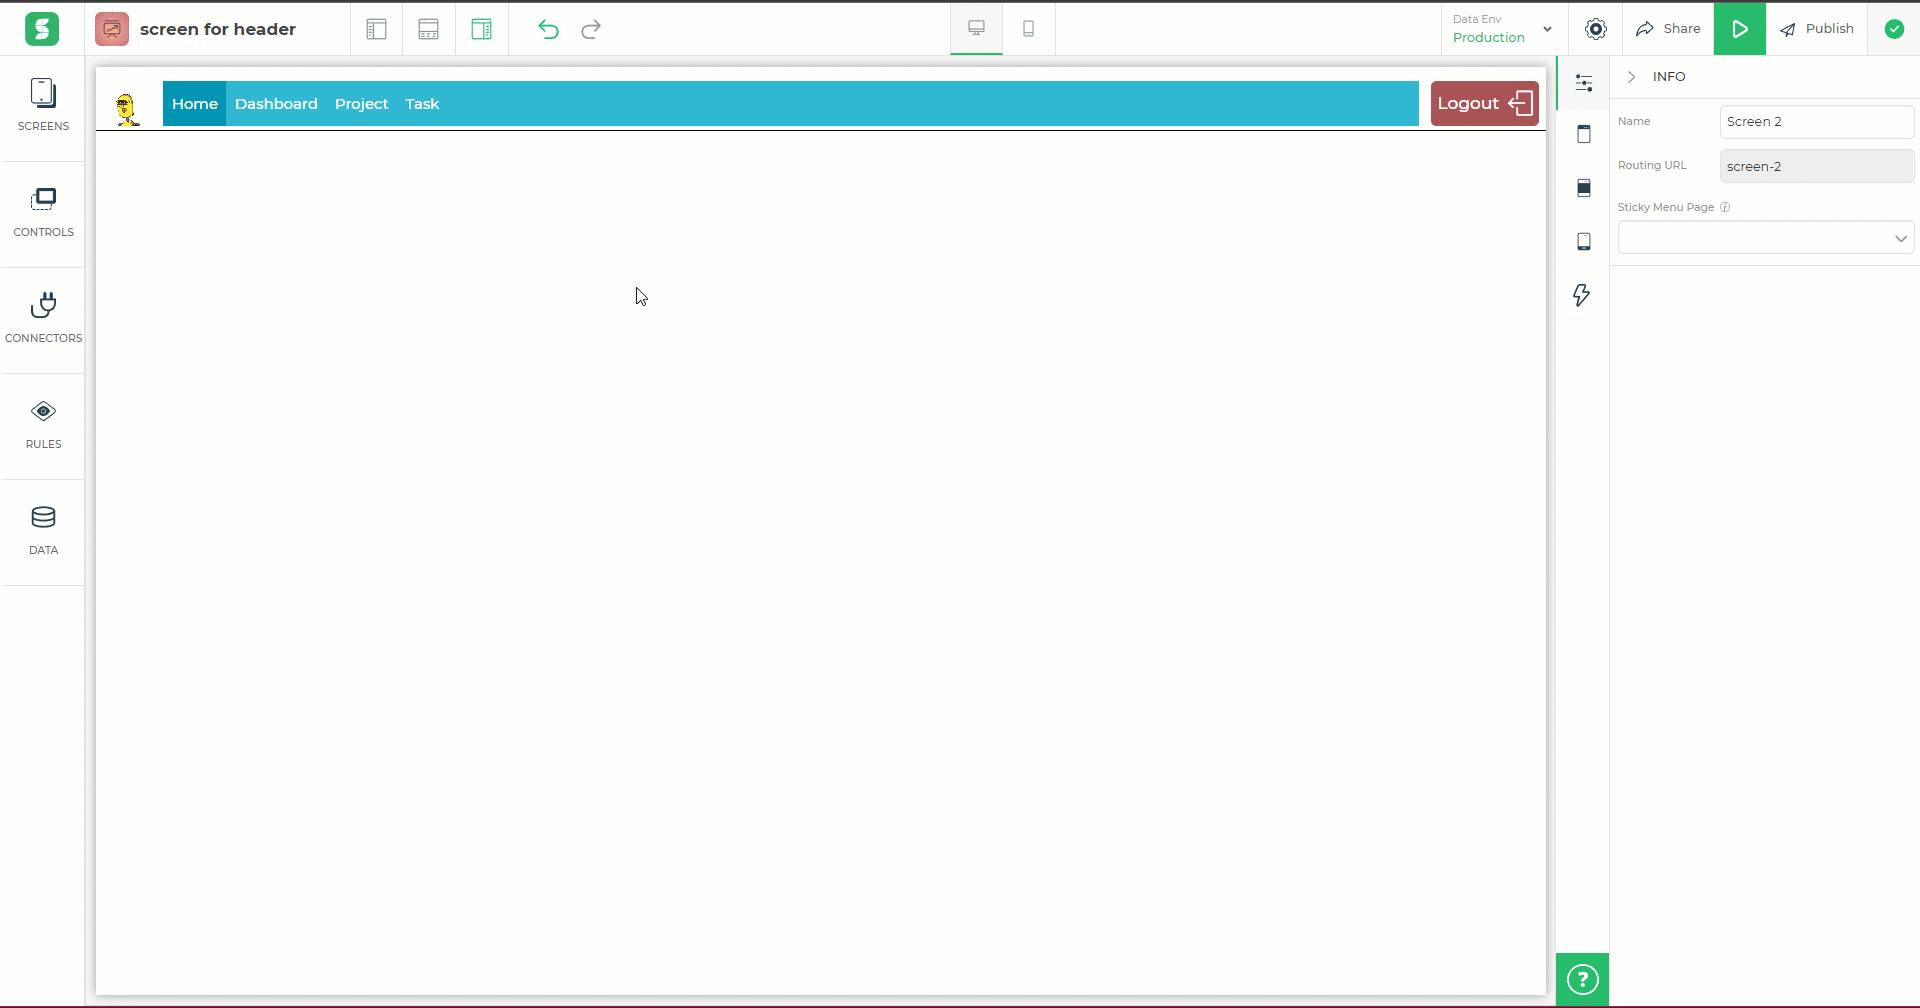
Next, go back to the builder view, click on Screens > +Add > Screen, to add a new screen and you will notice that a new screen has been added with the same header configuration as the base header, selected earlier.
Reusable Non-Classic header
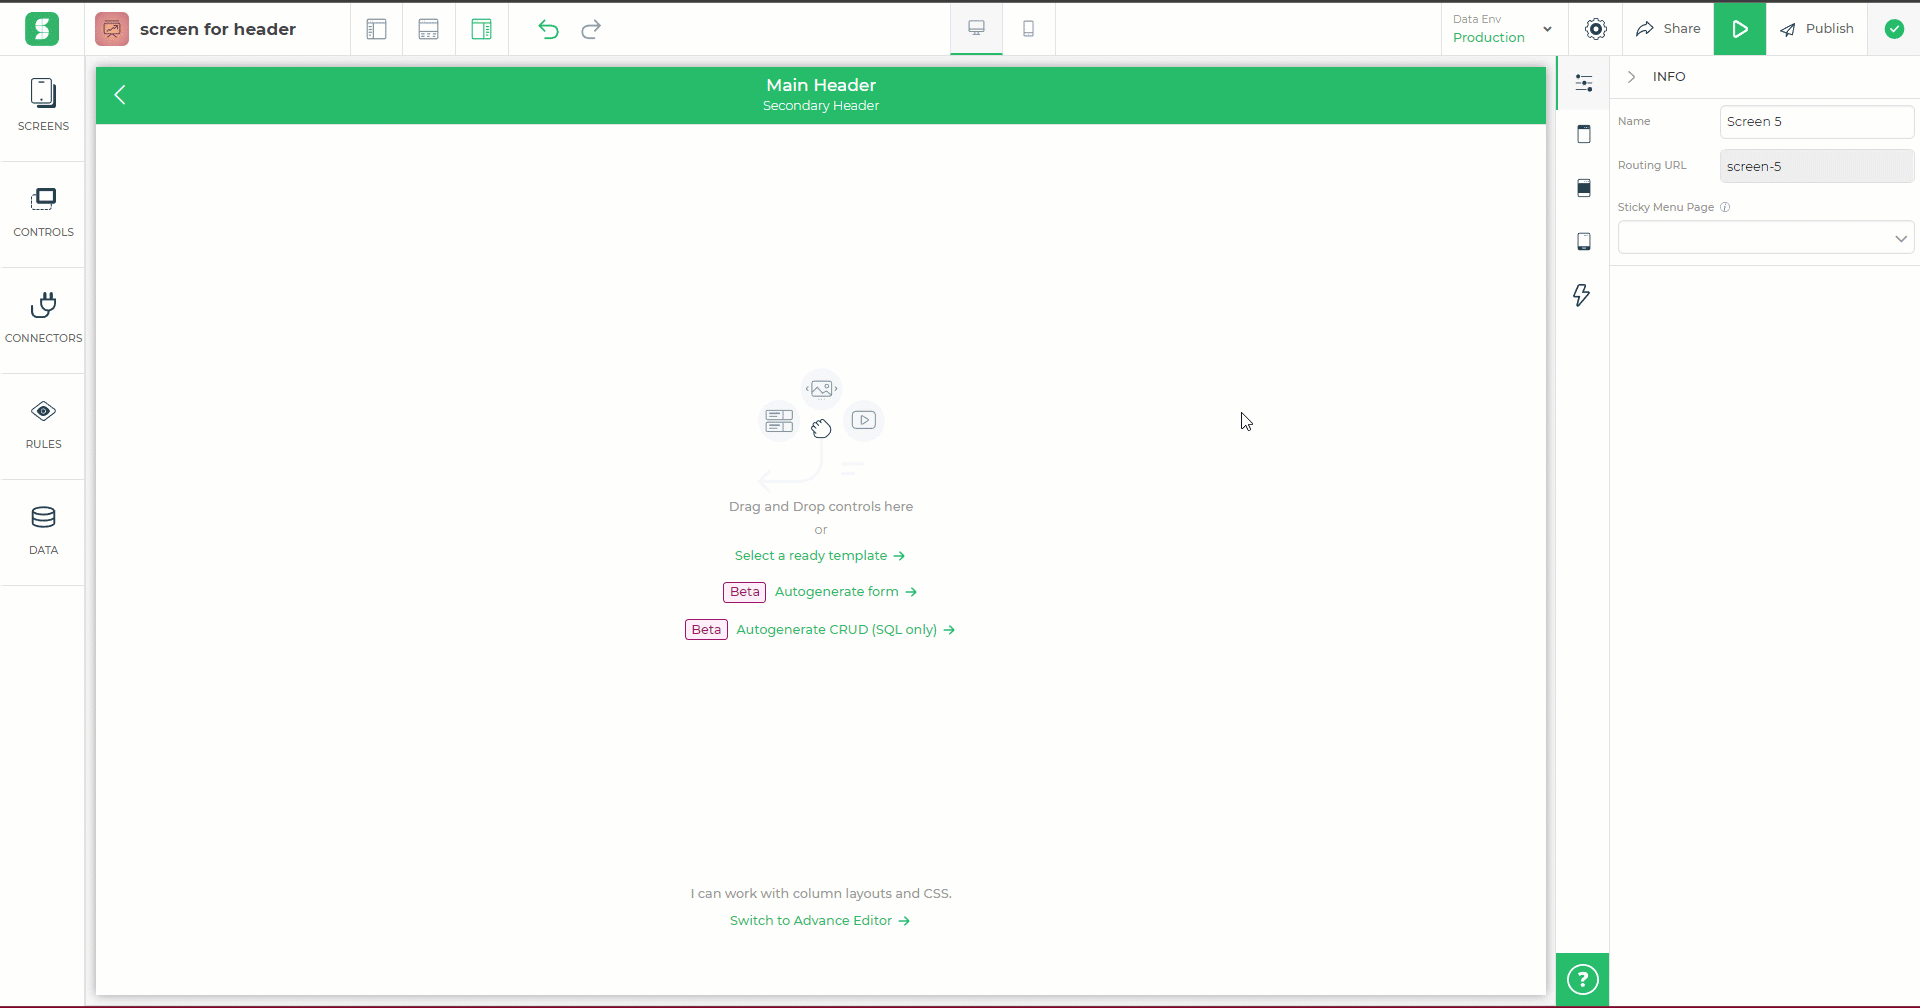
In the header setting, we have a toggle to change the header from classic to non-classic. The reusable property of the header is applicable for extravagant non-classic headers too. You can add several controls and actions with data binding this non-classic header, and later make it the standard header for all the screens.
The method is similar to the previous steps. Create a non-classic header and select it from the Select Screen Header dropdown, this is to use as the base header for other screens from Configuration > Styling > Headers.
You can see in the above media that everything, from controls to actions, is duplicated on the new screen.
Once added controls to the non-classic header, the option to change from Basic Freeflow Editor to Advance Editor gets dropped.
Non-Classic Header in Basic Freeflow Editor
While making your reusable non-classic headers, you have to check whether the base header is designed/created in Basic Freeflow Editor or not.
When you have created a header with added controls in Basic Freeflow Editor and then set this as the base screen header for new screens. So, later on, with the addition of the new screen, you will not find the switch option from Basic Freeflow Editor to Advance Editor.
Non-Classic Header in Advance Editor
Now, in this case, we will build our non-classic header in the advance editor.
So, first, toggle off the Classic Header and switch to Advance Editor.
Now create your non-classic header. Then repeat the previous steps and make this screen selected for the base header.
Once done, create a new screen and you will see that the new screen has no such properties of the base header which was selected earlier and the new screen is opened in Basic Freeflow Editor.`
Now change the new screen window editor to Advance Editor and you will see the configured header has appeared on the screen.
Make sure that if you have selected advance editor screen as a base header for reusability then the new screen added should also be in advance editor mode.