Set Routing URL
Setting up Routing Levels
Setting up routing levels involves generating a shareable URL for your screen using the DronaHQ and your app. This URL is the public URL of the screen with an added routing level value. The purpose of setting up routing levels is to create a URL with additional routing level values.
A routing URL with added levels follows this structure: https://domain.com/microappname/screen/ROUTING_LEVEL1
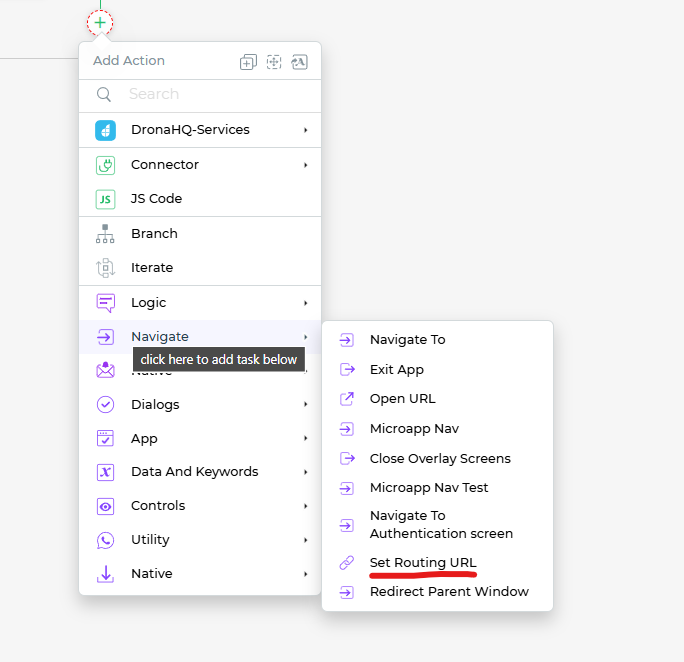
To set up routing levels, you can use the On-Screen action called Set Routing URL.
Select the control whose value you want to save in the routing level variable.
Go to its events and add an On-Screen action of
Set Routing URL.
- Configure the fields as follows:
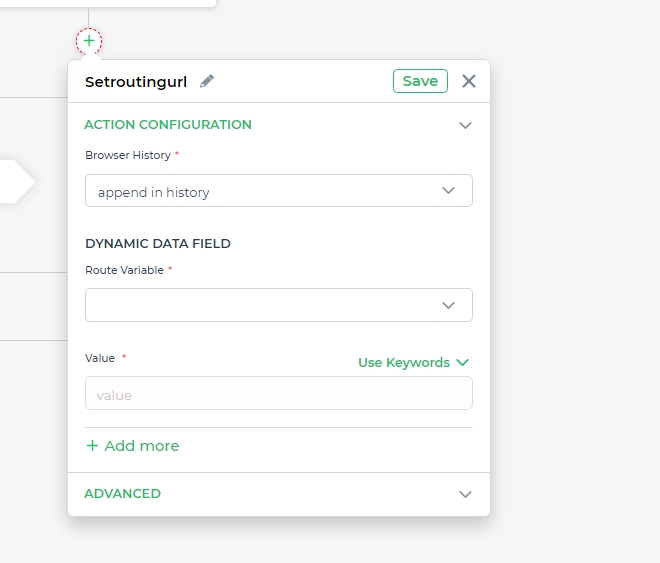
Browser History: The browser history dropdown offers two options for handling push flow data in the URL history.
Append in history: This option allows you to navigate back and forth in the browser with respect to the appended routing levels. Each appended level corresponds to a navigation step.
Replace last history URL: This option replaces the previous history URL with the current URL containing the routing levels. This means that clicking
backin the browser redirects you to the tab or URL before the app was opened.Route Variable: Select the routing level keyword you want to bind the control's value to.
Value: Choose the value you want to save as a routing variable.
You can set multiple routing levels, but each level must be set sequentially. Skipping routing levels isn't allowed. The routing works in a sequential manner based on the number of levels set.
Utilizing Routing Levels
At Screen Routing
Utilizing routing levels is crucial for sharing the public URL of an app's screen. This involves routing the screen upon load and using the routing level(s) present in the URL.
On-Screen Routing Event: Use the
screen_routingevent in your screen's events. This event is essential when you want to leverage routing level values to trigger actions.screen_routing Action: The
screen_routingaction event is triggered when the URL changes with backward and forward navigation. It responds to routing variables present in the URL.Usage in Screen Routing: Utilize the
screen_routingaction event to configure actions that depend on the routing level values. The app screen is accessed and loaded based on the information in the URL, using the routing level values.
At Data Bind Section
Routing levels can also be accessed in the data bind section using the routing level keyword.
Select a control.
Go to its data bind section.
Use the routing level keyword to bind the control to the routing level value.
By implementing routing levels, you can dynamically alter the behavior of your app based on the URL's routing level values. This provides a flexible and efficient way to share specific screens and data with others.