Set Data Environment
Setting up the Set Data Environment Action
In the process of creating and managing data environments, you've built a foundation for dynamic data handling in your app. These data environments play a crucial role in various scenarios within your app's action flow. For instance, you might need to switch the data environment based on user-specific conditions or user groups. Fortunately, you can do this using the Set Data Environment action.
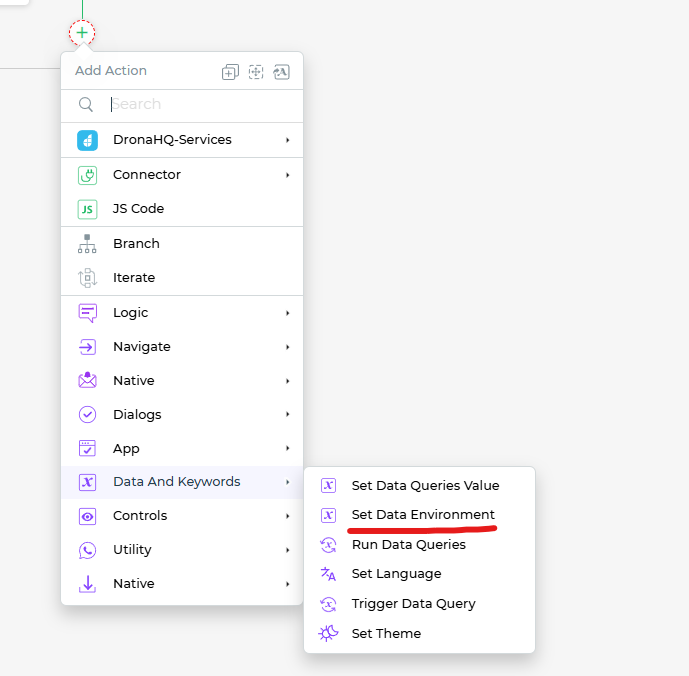
Select the
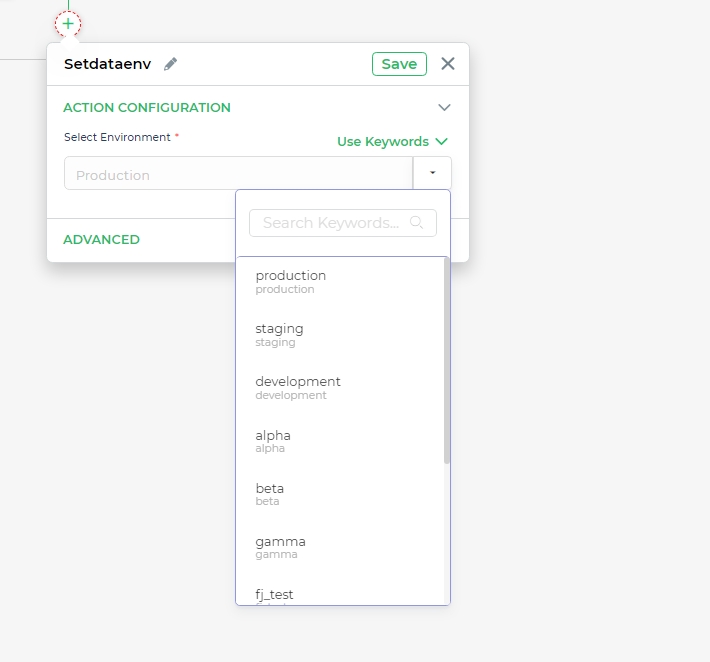
Set Data EnvironmentAction: Within your Action Flow, navigate toOn-screen actionsand find theUtility Block.Under this section, you'll discover theSet Data Environmentaction. Choose this action to specify the data environment change.Choose an Environment: From the list of environments created earlier using the
Manage Environmentfeature, select the data environment you want to set. This action empowers you to dynamically switch between different data environments as needed.Provide an Action Unique Name: Assign a unique name to this action for easy identification within your Action Flow. This naming convention enhances your workflow's clarity and organization.
Finish the Configuration: Once you've selected the environment and provided an action name, click
Finishto save your settings.
The Set Data Environment action effectively changes the data environment to the one you've selected. You can conveniently use the keyword DATAENV to check the current data environment.
Important Note: When you update the data environment using the action flow, any controls that use DATAENV in their formulas will automatically re-evaluate based on the new data environment. This dynamic capability ensures that your app adapts to changing data requirements seamlessly.