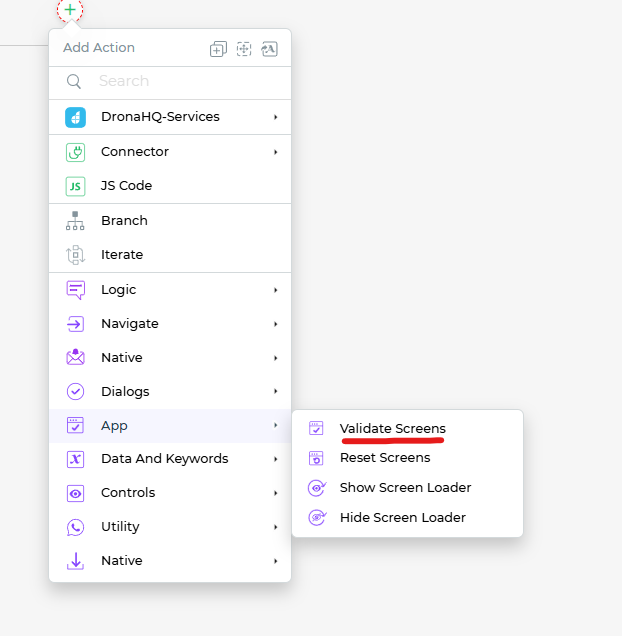
Validate Screen
Setting up the Validate Screen Action
The Validate Screen action is a valuable tool to ensure that data from a specific screen is validated before proceeding to the next screen or executing any further actions. Here's how to use it effectively:
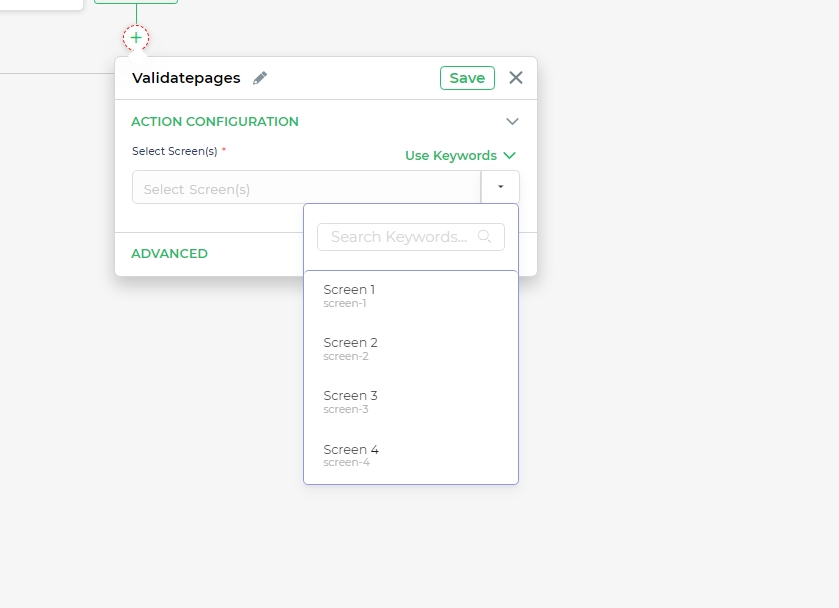
Select the Screen(s): In the
Validate Screenaction configuration, you can choose one or more screens from your app that need data validation before continuing. This step is essential to specify which screens are involved in the validation process.Validation Outcome: The action returns either
TrueorFalsebased on the validation result. You can use this outcome to determine the next steps in your workflow. For example, if validation fails (False), you might want to display an error message to the user or prevent navigation to the next screen until valid data is provided.Condition and Environment: As with other actions, you can specify under what conditions this action should execute and in which environment. This flexibility allows you to tailor the validation process to your app's specific needs.
Action Unique Name: Assigning a unique name to the action is essential for identifying tasks in your Action Flow easily.
By using the Validate Screen action, you can enhance the data integrity of your app by ensuring that critical information is validated before proceeding. This helps deliver a more robust and user-friendly experience to your app's users.