Bitly
Bitly is a well-known URL shortener and link management platform and the DronaHQ is providing users to experience and implement the features of the Bitly platform in their micro apps with the help of Bitly Connector. You can now get groups and create shortened URLs.
Configuring API Connector in DronaHQ
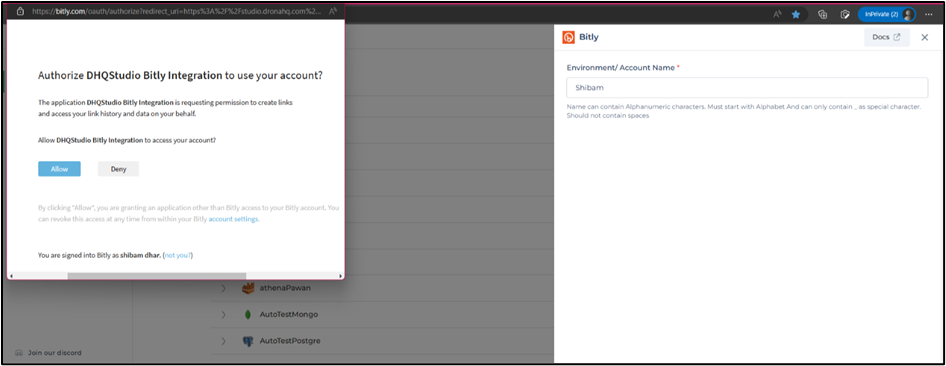
A pop-up will display asking you to connect to your Bitly account. Authorize it and your Bitly connector will be ready
After successfully configuring and saving the connector settings, you can easily access your newly connected account by
navigating to the connected accounts list. You can find this option from the Connector -> Manage Account section.
This centralized location allows you to conveniently monitor and manage your connected accounts.
Supported API endpoints
| Action | Description |
|---|---|
| GetGroups | Retrieve the list of groups associated with your Bitly account. |
| GenerateShortLink | Create a shortened link using Bitly's URL shortening service. |
Using Bitly Connector
Create shortened URL
The main purpose of using the Bitly connector service is to create short URLs of long URLs. To do this we have a dedicated endpoint called GenerateShortLink.
- We have a microapp with several controls.

App layout - On the trigger event of the button, we will add a
Connector > Libraryaction of Bitly connector withGenerateShortLinkendpoint then select the configured account. - Provide the necessary details like keywords for
long URLsandgroup GUID.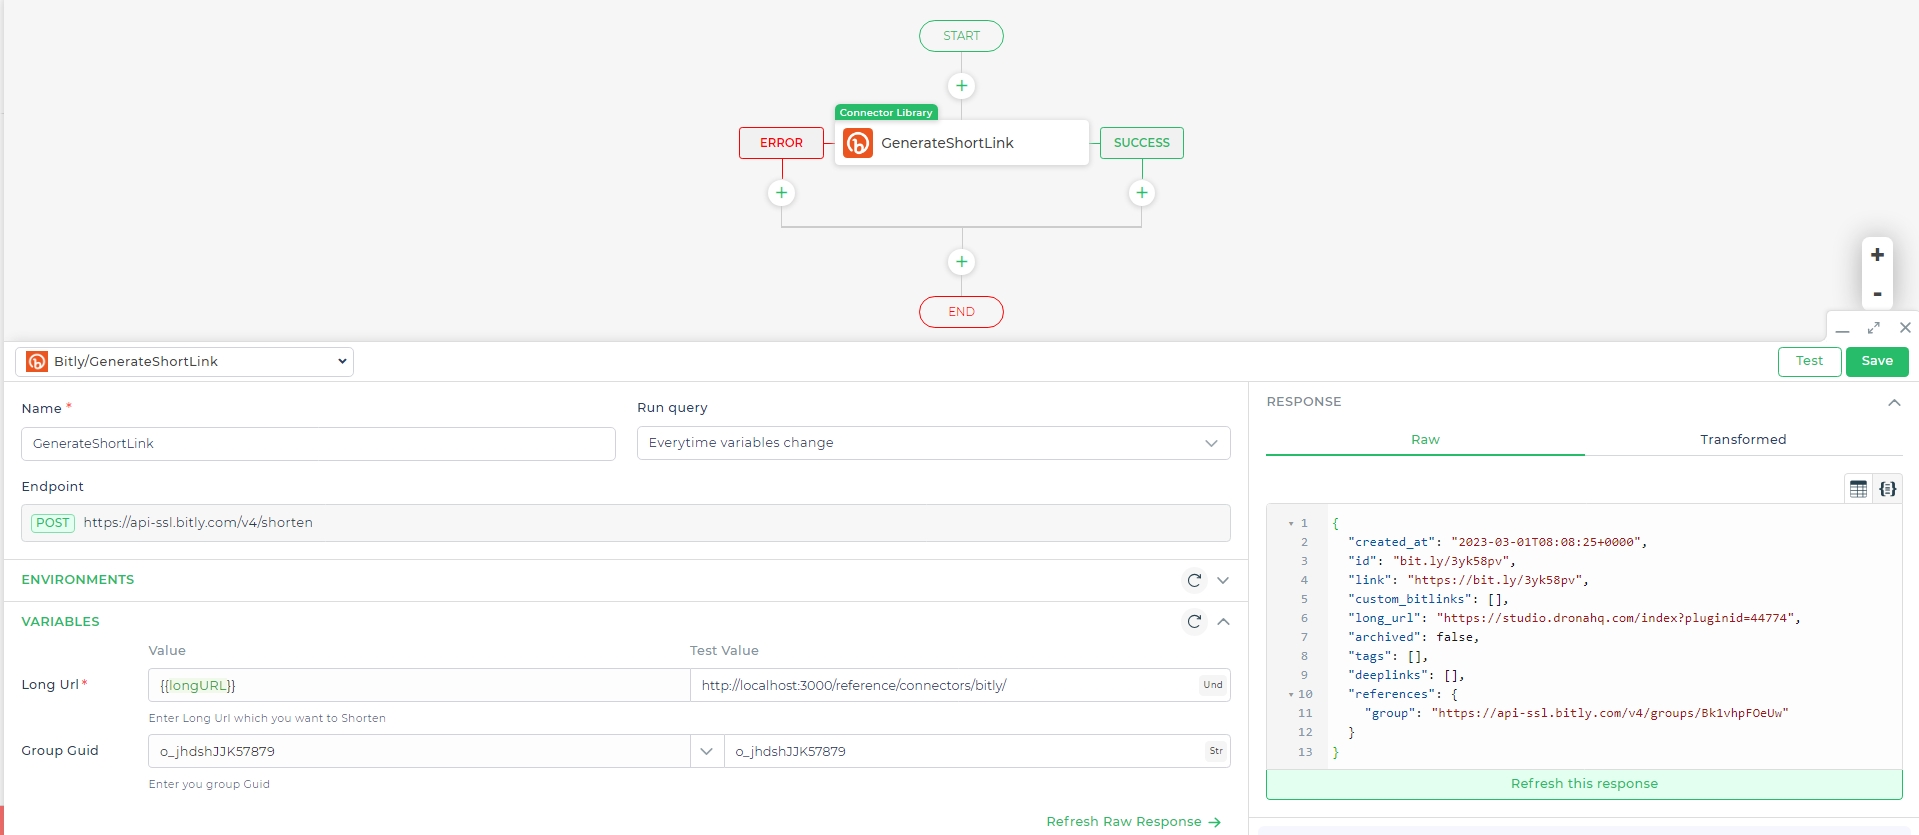
- Test and Save, to use the response by the action's unique name.
- Add another event to set the received output from the connector to JSON viewer.
- Preview the app and you will get your shortened URL of a long URL.

Shortened URL
Get group(s) details
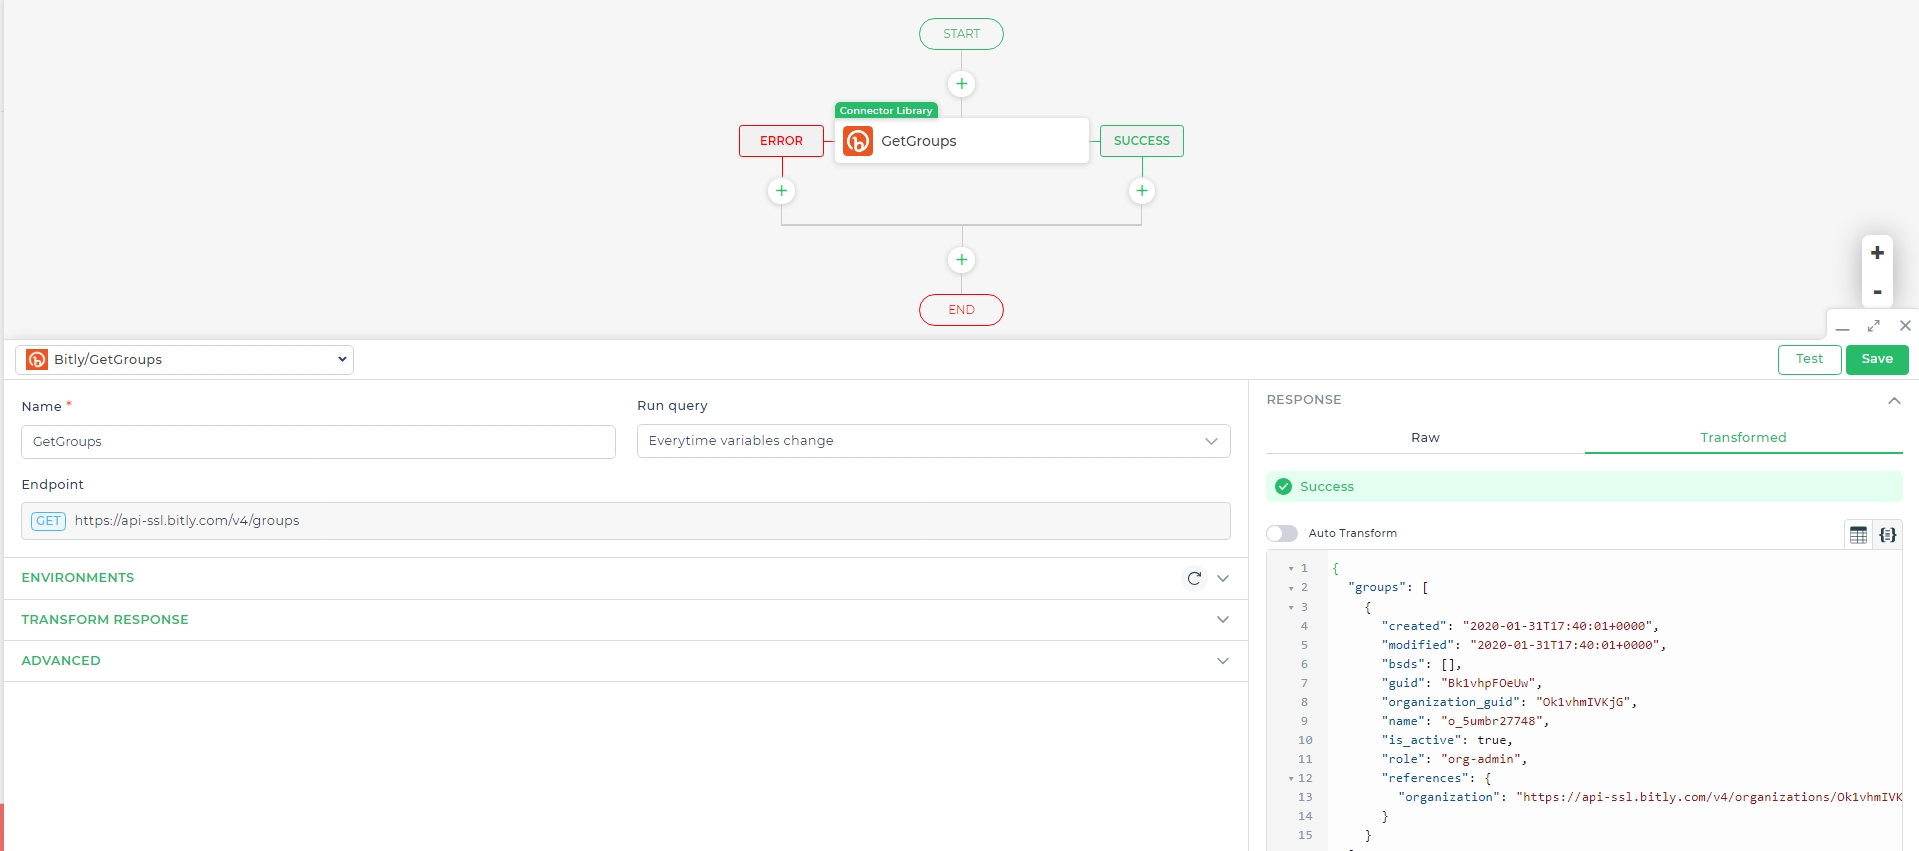
You can view the details like – account creation date, GUID, organization name, and more - of the user account(s)
present in the ID, we have to go to the data-bind section of our control and select the Bitly connector, select
GetGroups endpoint, and finally select our configured account.
Do a refresh response, then bind the keys as columns for the control and click Test & Finish.
Self-Hosted Installation
To use the Bitly Connector on the on-prem version, follow these steps:
Select the Connector: Choose the Bitly Connector from the list.
Provide the Necessary Details: Enter the required information, including Environment/Account Name, API Base URL, OAuth Redirect URL, Client ID, Client Secret, Scope, Authorization Request URL, Access Token Request URL, and Refresh Token Request URL.
Required Fields
Environment/Account Name: The name can contain alphanumeric characters, must start with an alphabet, and can include
_as a special character, but should not contain spaces.API Base URL: Enter
https://api-ssl.bitly.comas the base URL of your API endpoint.OAuth Redirect URL: Copy the following URL:
https://qa-selfhosted.dronahq.ai/oauth_callback. Use this link in your app's API or developer settings to create a new integration or app to use with DronaHQ. If required, go to your app's admin console and add it to the allowed list.
Obtaining Bitly API Credentials
Client ID and Client Secret: These unique credentials identify your application to Bitly's API. Obtain them by registering your application in the Bitly Developer Console.
Scope: Define the specific functionalities your application needs access to within Bitly. Choose appropriate scopes from the Bitly documentation.
Authorization URLs: These URLs are involved in the OAuth flow used to obtain access tokens for your application. Refer to the Bitly OAuth documentation for details.
Access Token Request URL: Provide the access token request URL.
Refresh Token Request URL: Provide the refresh token request URL.