SendGrid
SendGrid makes sending emails possible without the use of email servers.
Prerequisite
SendGrid API Key: Obtain an API key from SendGrid by signing up for an account and creating a new API key. This key is required to authenticate your requests when using the SendGrid Connector.
Environment Setup: Ensure you have a development environment capable of making HTTP requests to external APIs. This could involve using programming languages like Python, JavaScript, or any language that supports HTTP requests.
Configuring API Connector in DronaHQ
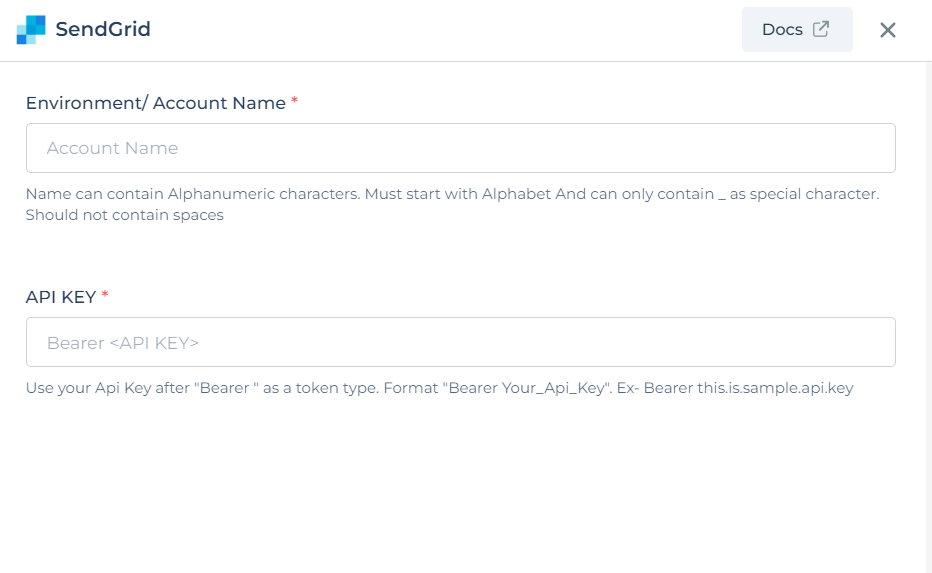
Add a Account name. Then add the API key for the connector account. Once all details are added, click Save. Your connector configuration is now done.
Getting the API Key
Getting the API Key:
- Log in to your SendGrid account.
- Navigate to the
Settingssection and selectAPI Keys. - You will find a list of your existing SendGrid API keys here. If you need to create a new API key, click on
Create API Keyand proceed.
Provide Access:
- To send emails using the API key, it's recommended to provide
Full Accesspermissions. - After creating the API key, locate it in the list and click
Edit API Key. - In the
API Key permissionssection, chooseFull Accessand clickUpdate.
- To send emails using the API key, it's recommended to provide
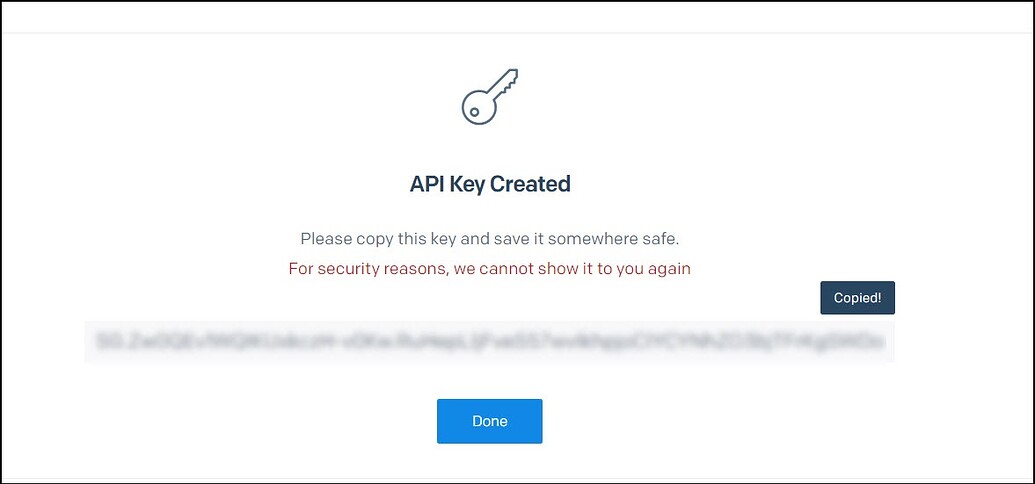
Copying the API Key:
Once you've configured the permissions, your API key will be generated.
Copy the generated API key and store it securely, as you will need it for authentication in the future.
After successfully configuring and saving the connector settings, you can easily access your newly connected account by navigating to the connected accounts list. You can find this option from the Connector -> Manage Account section. This centralized location allows you to conveniently monitor and manage your connected accounts.
Supported API endpoints
| Action | Description |
|---|---|
| GetMessages | Retrieve a list of sent email messages from your SendGrid account. |
| Get All Templates | Retrieve a list of all available email templates in your SendGrid account. |
| Send Mail | Send an email using a SendGrid template or by providing custom content. |
| Send Mail With Legacy Templates | Send an email using legacy templates from your SendGrid account. |
| Get Template By ID | Retrieve a specific email template by its unique ID from your SendGrid account. |
Using SendGrid Connector
Send Mail without using template
To create your email campaign list and wish to send an email to the selected recipients you can make use of the Send Mail action.
You need to provide the list of recipients, add the email subject, email message body, and you are done. You would not select any template here.
So now whenever you run the form, select the recipients from the dropdown and click to trigger the email.
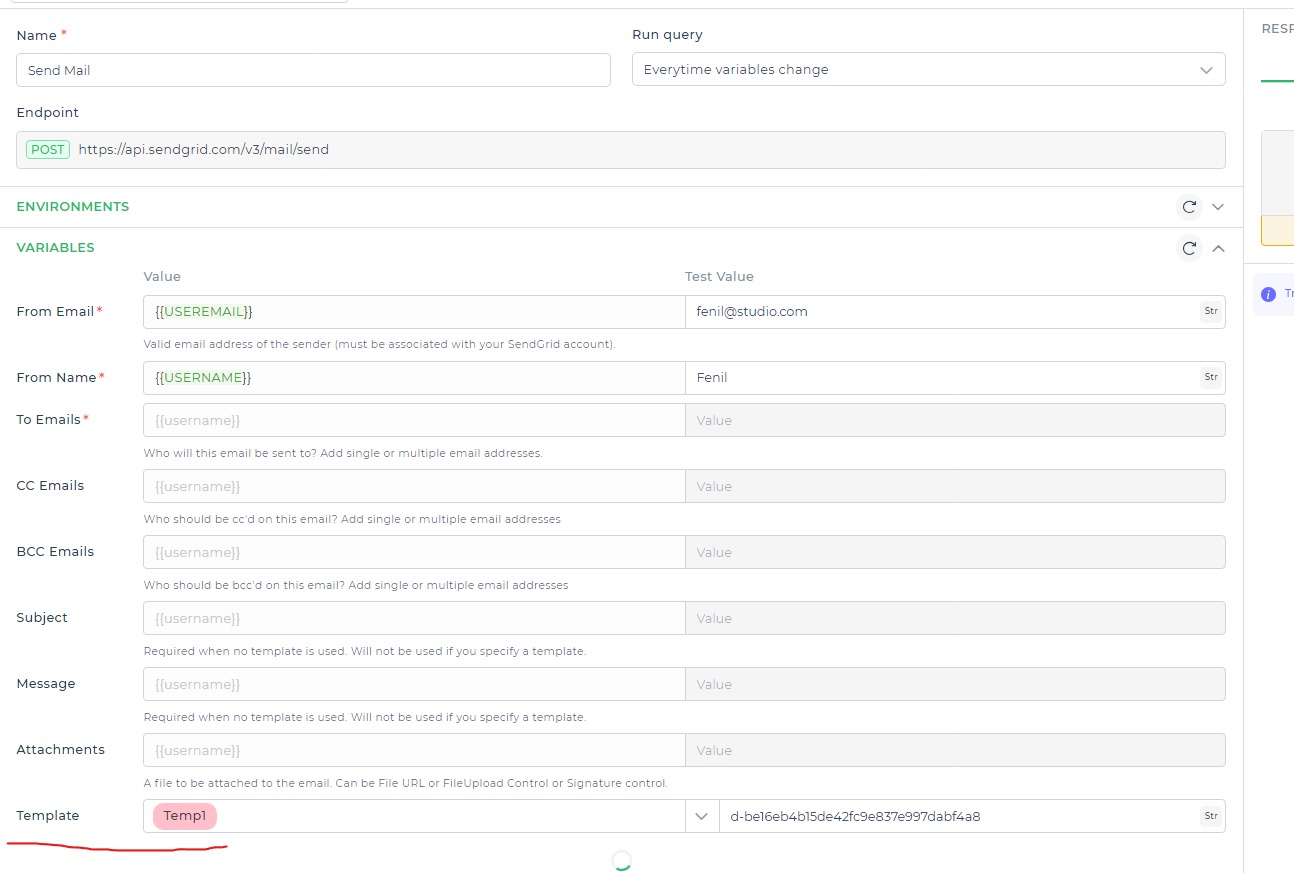
Send email using Dynamic Templates
Create a template for your campaigns in your Sendgrid account here. Use this template that you have created in SendGrid and can also add the dynamic fields within the templates.
Sendgrid is easing out the legacy templates and allows you to migrate existing legacy templates to dynamic / marketing ones instead if you want to do it.
Create a template in SendGrid under Dynamic templates. Add the Subject and the Message content and Save.
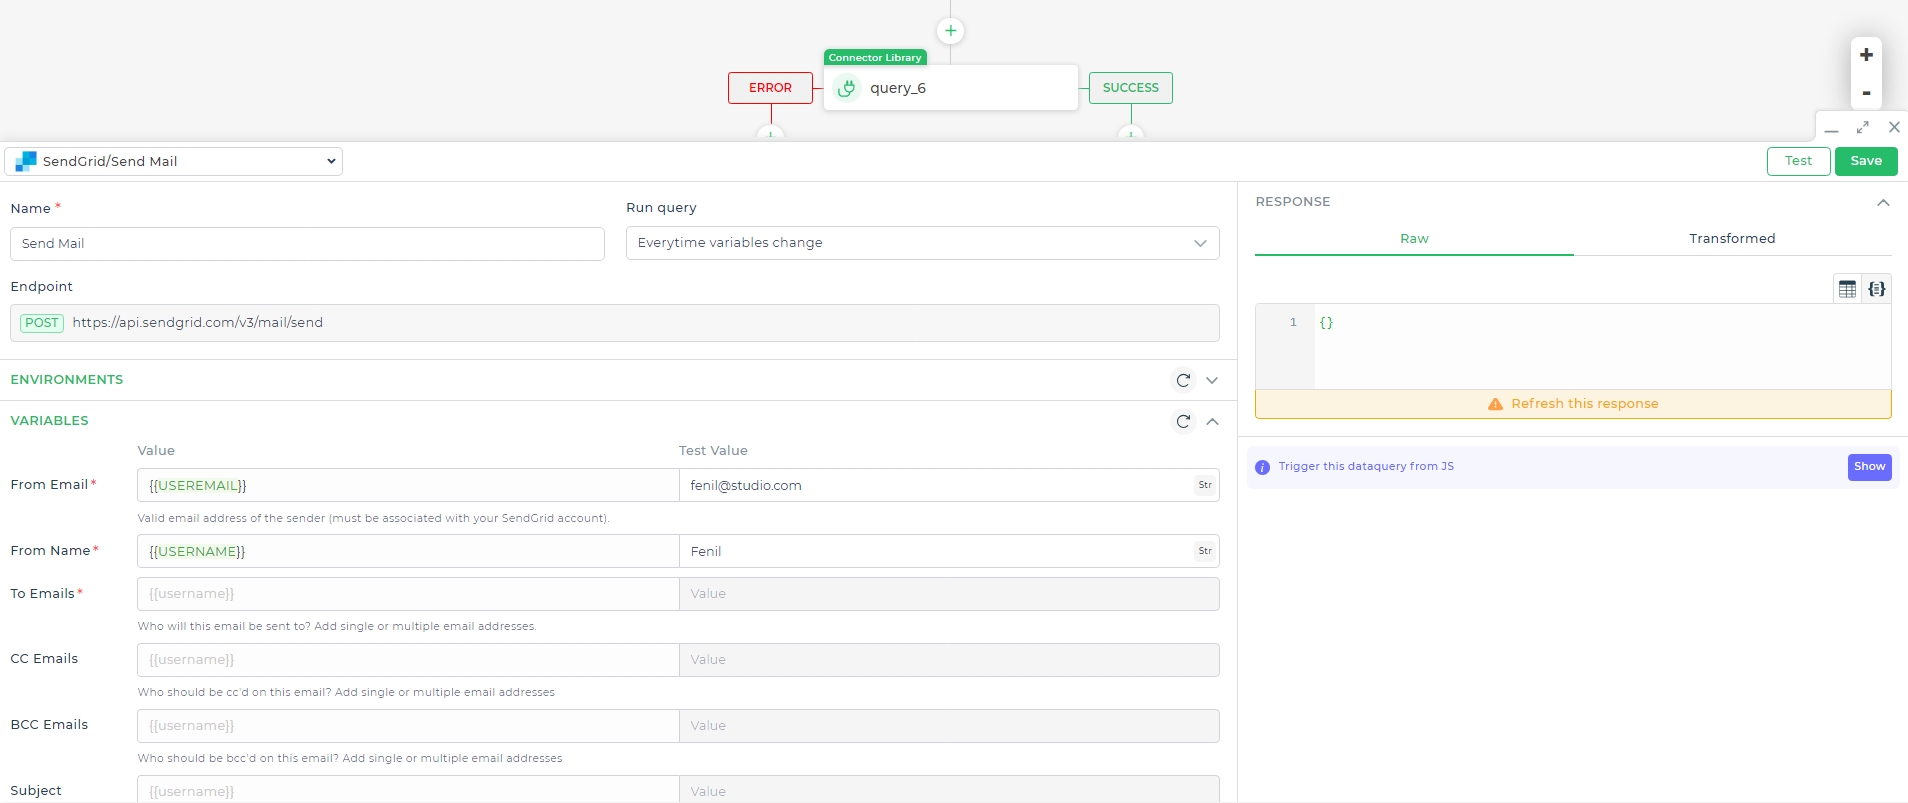
Configure the Connector, you should make sure that you add the Mandatory fields for From EMail, From Name and To Email.
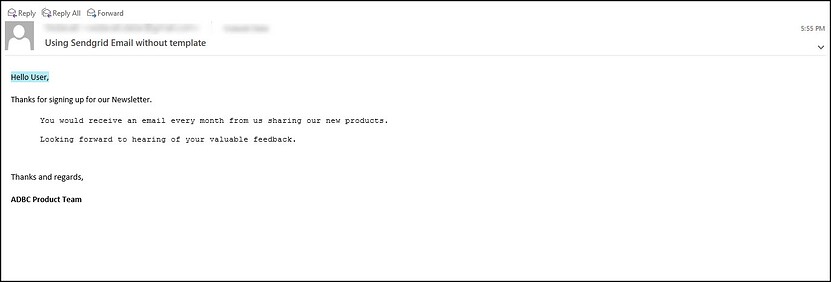
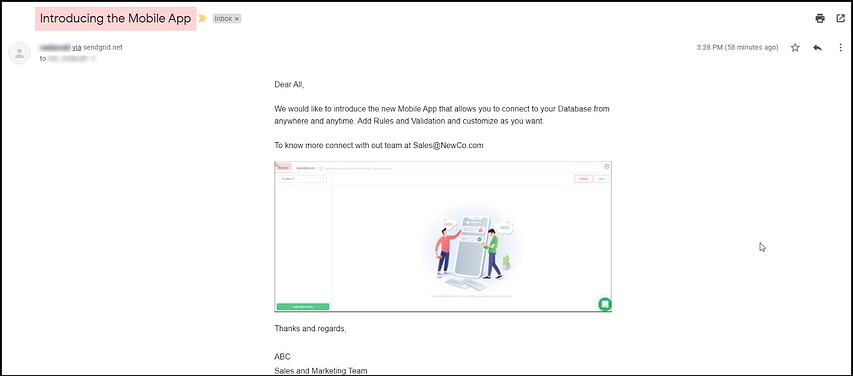
- Run the app you can see that the email would be sent from the email to the recipient’s email id. You would be able to view the email as per the template if you have chosen the template.
- If you are adding a template, the subject and message from the Template would override the Subject and Message from the Configuration.
- In case you do not select a template then make sure that you add the Subject and Message Body else it would appear blank in the Recipients email.
- When using the template, make sure the template is Active.