Cloud Convert
The CloudConvert connector enables various file conversion and manipulation tasks. It offers actions such as converting files, merging documents, and more.
Configuring API Connector in DronaHQ
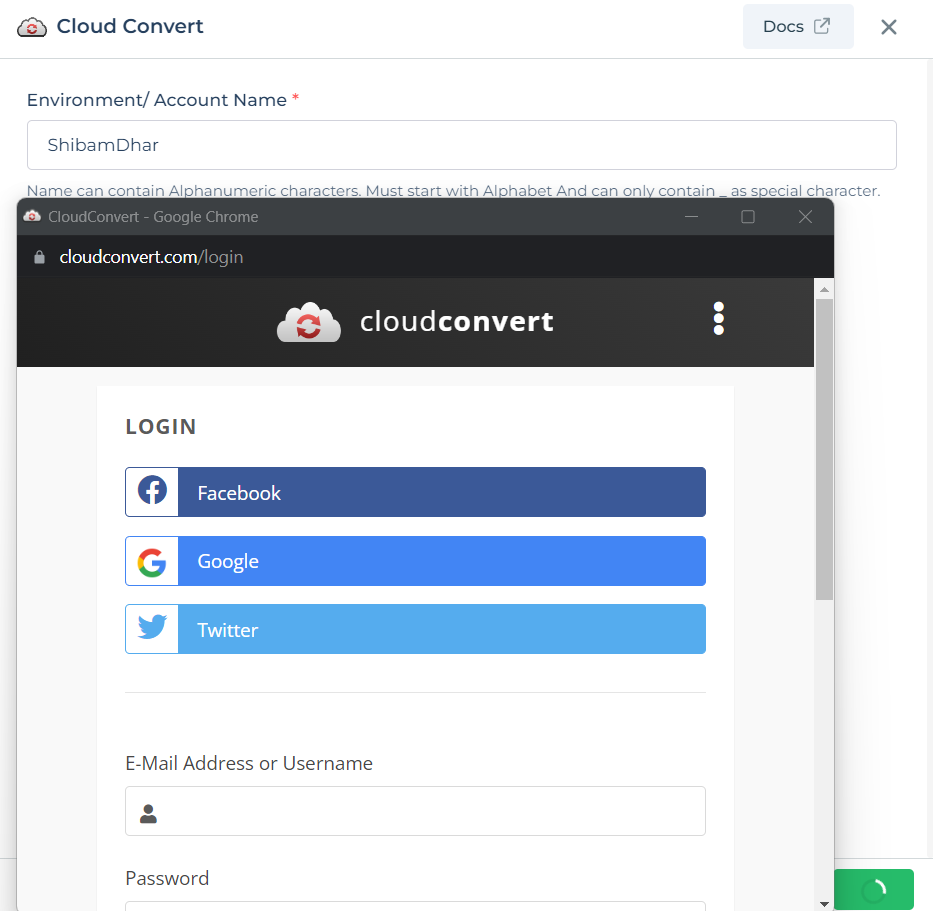
Add a Account name. Then click Save, it will open a pop-up window asking you to sign-in into your HubSpot account. Continue with the steps and give access to DronaHQ to connect with your HubSpot ID and its information.

After successfully configuring and saving the connector settings, you can easily access your newly connected account by navigating to the connected accounts list. You can find this option from the Connector -> Manage Account section. This centralized location allows you to conveniently monitor and manage your connected accounts.
Supported API endpoints
| Action | Description |
|---|---|
| AllSupportedFormats | Retrieves a list of all supported file formats. |
| FilterFormatsByInput | Filters supported output formats based on input format. |
| CreateConvertFileJob | Initiates a job to convert a file from one format to another. |
| ShowJob | Fetches details about a specific job. |
| WaitForAJob | Waits for a specific job to complete. |
| ListJobs | Lists all the active and completed jobs. |
| CaptureWebsiteJob | Creates a job to capture a screenshot of a website. |
Self-Hosted Installation
To use the CloudConvert Connector on the on-prem version, follow these steps:
Select the Connector: Choose the CloudConvert Connector from the list.
Provide the Necessary Details:
Environment/Account Name: The name can contain alphanumeric characters, must start with an alphabet, and can include
_as a special character, but should not contain spaces.API Base URL: Enter
https://api.cloudconvert.comas the base URL of your API endpoint.OAuth Redirect URL: Copy the following URL. Use this link in your app's API or developer settings to create a new integration or app to use with DronaHQ. If required, go to your app's admin console and add it to the allowed list.
Obtaining CloudConvert API Credentials
Client ID and Client Secret: Obtain these unique credentials by registering your application in the CloudConvert Developer Console.
Scope: Define the specific functionalities your application needs access to within CloudConvert. Choose appropriate scopes from the CloudConvert documentation.
Authorization URLs: Refer to the CloudConvert OAuth documentation for the Authorization Request URL, Access Token Request URL, and Refresh Token Request URL.