Zendesk
Integrate Zendesk to transform your customer service workflow to efficiently manage your tickets and even manage analytics that helps you to further improve your customer service response.
Prerequisites for Using Zendesk Connector:
Zendesk Account: You must have an active Zendesk account with the necessary permissions to access the data you intend to integrate.
API Token: Zendesk's API requires an API token for authentication. Generate an API token by logging in to your Zendesk account and navigating to "Admin" > "Channels" > "API" > "Add API Token." Provide a name for the token and select the appropriate permissions.
Subdomain: Identify your Zendesk subdomain, which is the unique URL prefix used to access your Zendesk account. For example, if your Zendesk URL is "https://example.zendesk.com", your subdomain is "example."
Connector Configuration: When setting up the Zendesk connector in your integration platform, you will need to input your API token and subdomain to establish a secure connection.
Configuring API Connector in DronaHQ
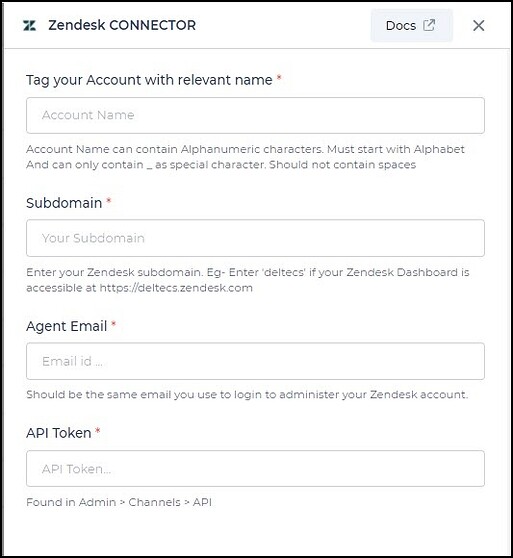
Add a Account name. Then add the necessary details like API Token, Subdomain, and Agent Email for the connector account. Once all details are added, click Save. Your connector configuration is now done.
After successfully configuring and saving the connector settings, you can easily access your newly connected account by navigating to the connected accounts list. You can find this option from the Connector -> Manage Account section. This centralized location allows you to conveniently monitor and manage your connected accounts.
Supported API endpoints
| Action | Description |
|---|---|
| GetTickets | Retrieve a list of tickets based on specified parameters. |
| GetProfile | Fetch user profile information from Zendesk. |
| GetGroups | Retrieve a list of support groups from Zendesk. |
| GetUsers | Get a list of users from Zendesk. |
| CreateTicket | Create a new support ticket in Zendesk. |
| UpdateTicket | Update an existing support ticket in Zendesk. |
| AddTagsToTicket | Add tags to a specific ticket in Zendesk. |
| AddCommentToTicket | Add a comment to an existing ticket in Zendesk. |
| FindTicket | Search for a specific ticket by its ID or other parameters. |
| CreateTicketWithRequester | Create a new ticket with specified requester information. |
Using Zendesk connector
Creating Ticket
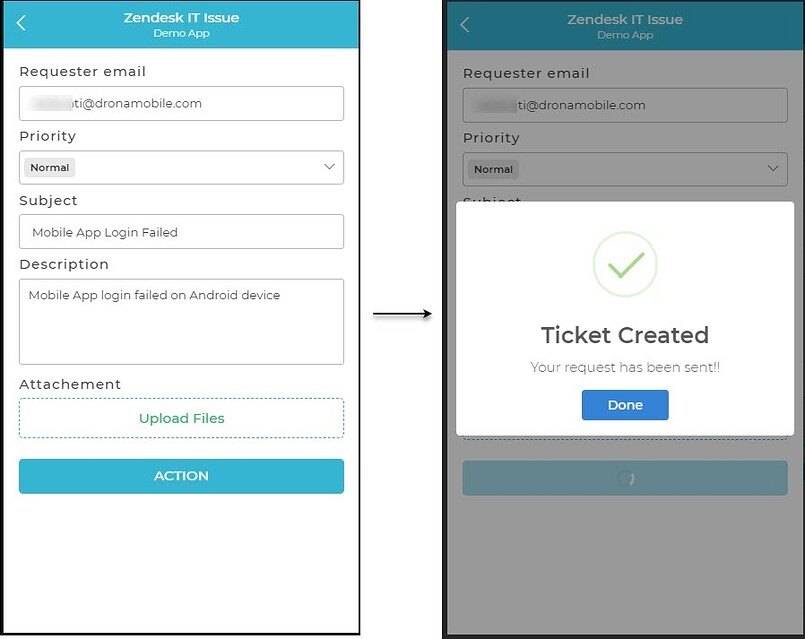
Leverage the Zendesk connector's capabilities by creating support tickets seamlessly within your applications. Utilize the following steps to employ this integration:
Incorporate an Action Flow in your app to initiate the ticket creation process.
Navigate to
Connector > Libraryand select the Zendesk connector from the list of available connectors.Choose the
CreateTicketaction to create new support tickets.Provide essential ticket details such as
Subject, Assignee, Group, and Description. Use keywords to link controls to these fields.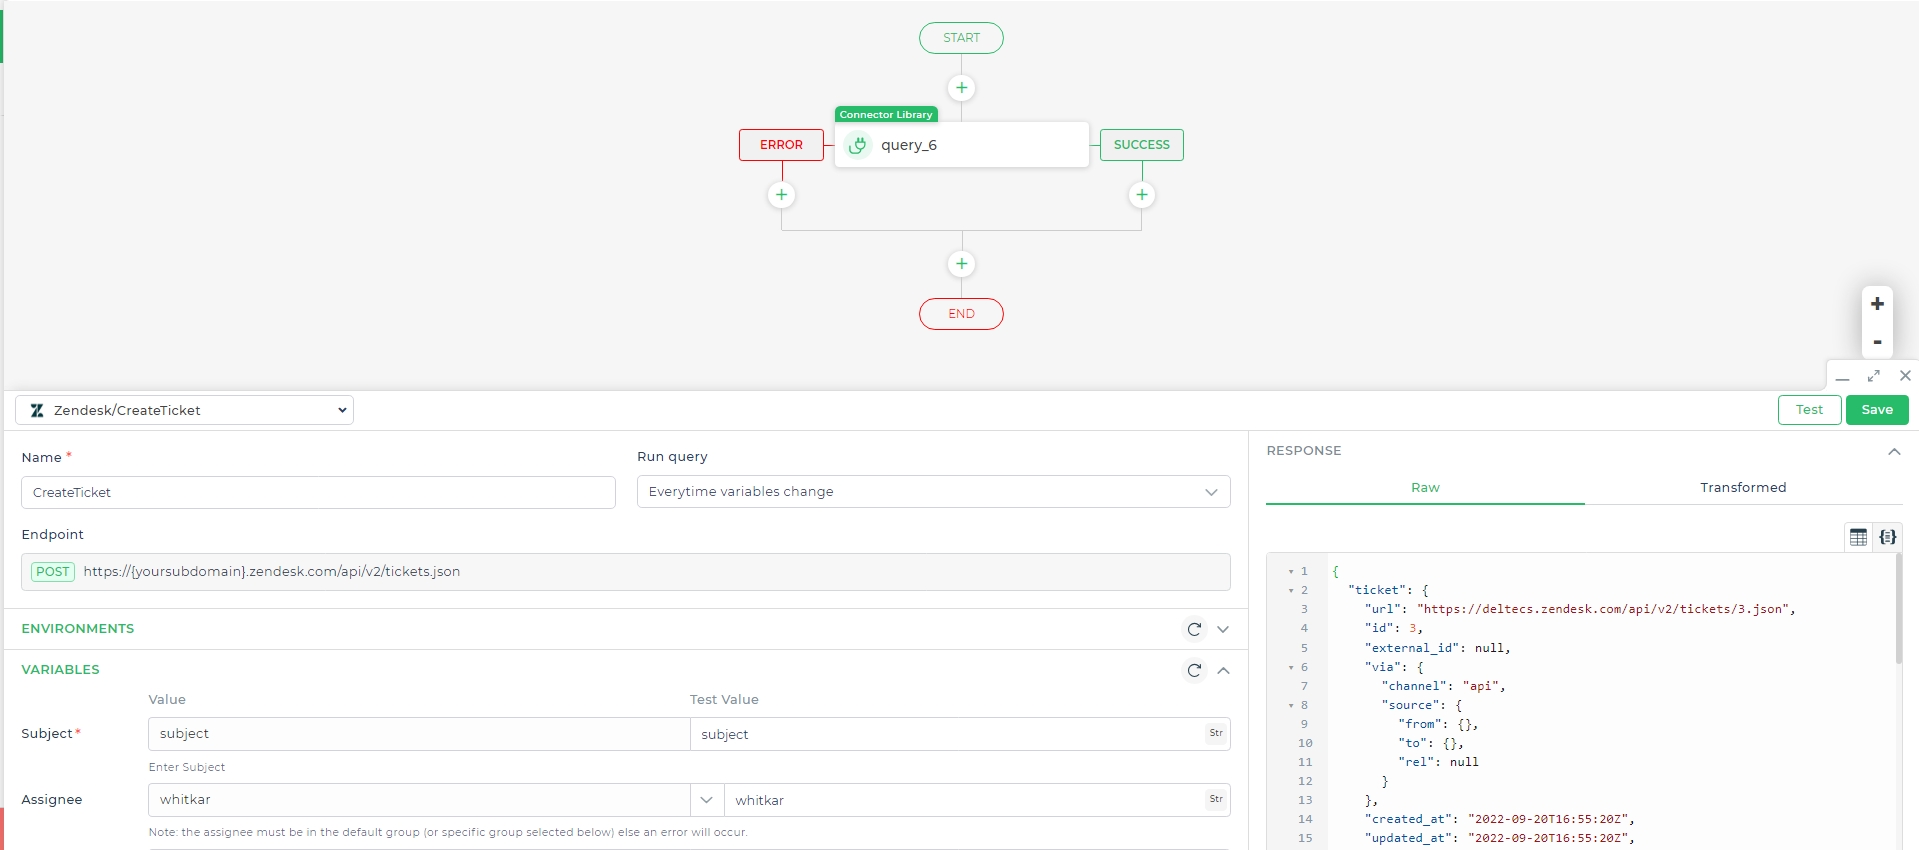
Select the authenticated Zendesk account for the action.
Complete the action configuration, assign a unique name, and finalize the setup. Test the flow to ensure successful ticket creation.
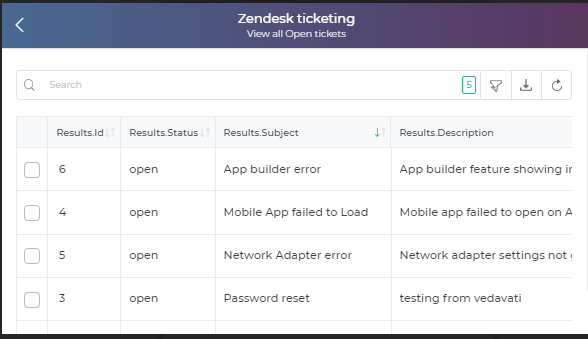
Find all Open Tickets
Zendesk connector also enables you to query and fetch tickets based on a criteria. You can query like say fetch all tickets that have Status as Open. Let us see how to display a list of Open tickets. For this you can make use of the FindTickets action of the Zendesk connector.
Add a Table grid control and then bind data.
Select Zendesk Connector and from the list of actions select
FindTicketSelect the connected account.To configure the connector fields add a connector name and enter the query or search string. For example if you want to find all tickets with the status as Resolved the query would be
type:ticket status:resolved.
- So in this example where we want to find all open tickets we would use the query as
type:ticket status:open. You can refer to the Zendesk Documentation for more queries at this link here.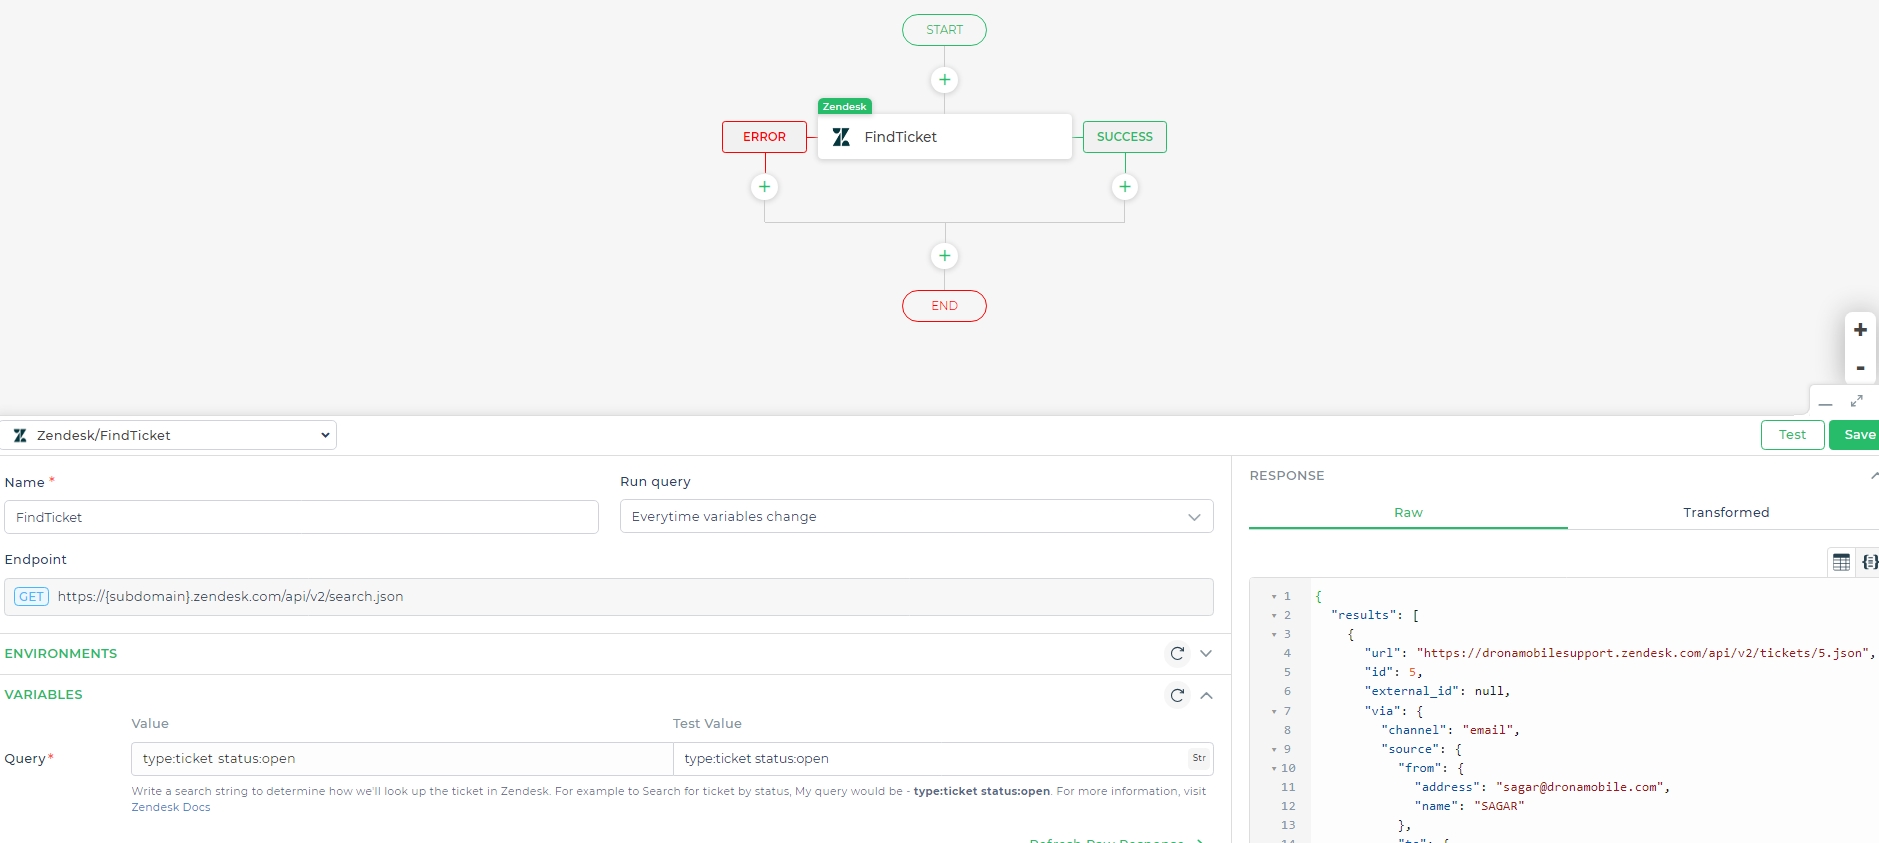
If you run the form you can see all the tickets from your Zendesk group that are in the Open status.
